Step by Step links for Building the Telescope
You just competed the pitch lap and began polishing.
| Measure the focal length of the mirror using the moon or a distant street light. |
| Obtain a 100 line per inch Ronchi grating from a supplier. |
| Find the size of the diagonal and order the diagonal. ( see below ) |
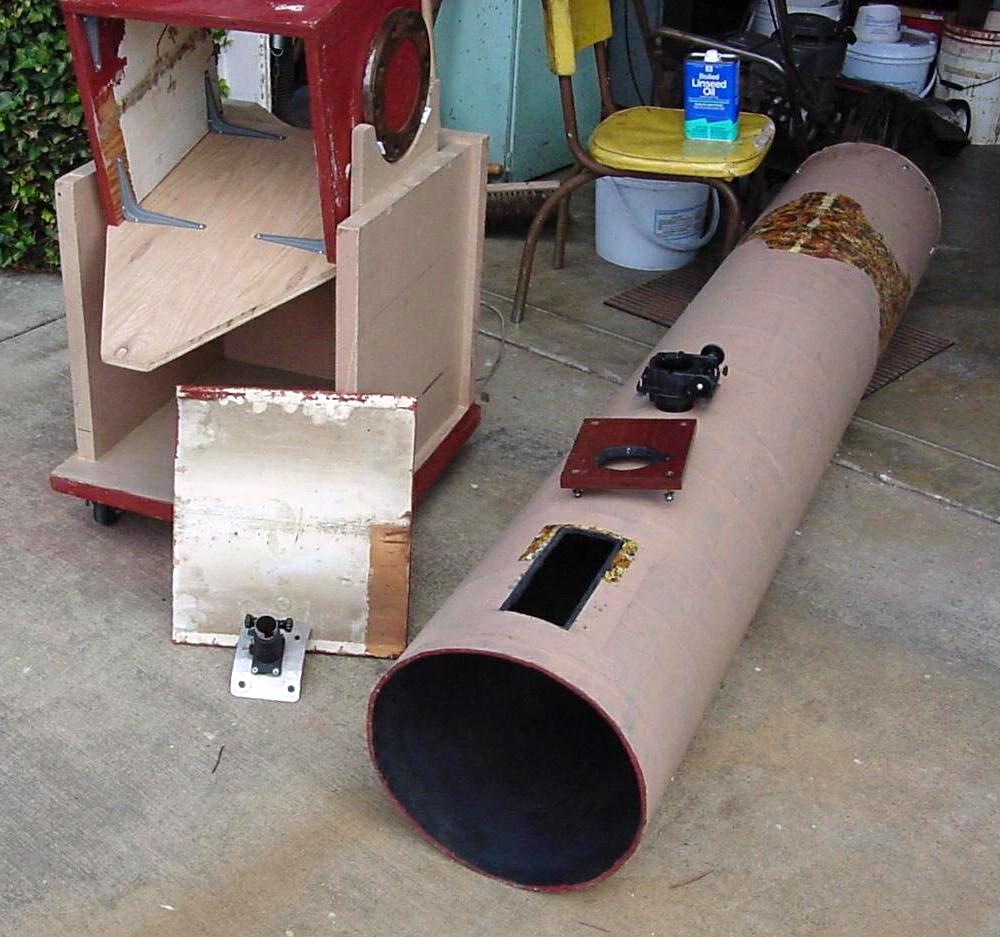
| Obtain a cardboard tube from a building supply company. The tube should be a foot longer than the focal length. |
| Build the mirror cell. |
| Build the spider. Since the diagonal is already coated keep it covered with a paper towel during construction. |
| Decide how far the prime focus will be from the center of the diagonal. We call this distance L. L distance will depend on the focuser used and the eyepiece. If you don't have the focuser and the eyepiece make L = radius of cardboard tube plus 2 inches. |
| Adjust the mirror cell bolts to the middle of their range of adjustment. |
| With the mirror in the mirror cell in the tube, measure up the side of the tube from the mirror face a distance equal to the focal length minus L and cut a 1 3/8 inch hole through the cardboard tube at this point. |
| Cut the tube off a minimum of 6 inches above the eyepiece hole. Make sure there is enough tube to support the spider you have built with the diagonal in front of the eyepiece hole. If you have a problem with street lights you might want to go a bit longer, you can always shorten the tube later if necessary. Wrap the tube with a long sheet of paper to mark the cut line. |
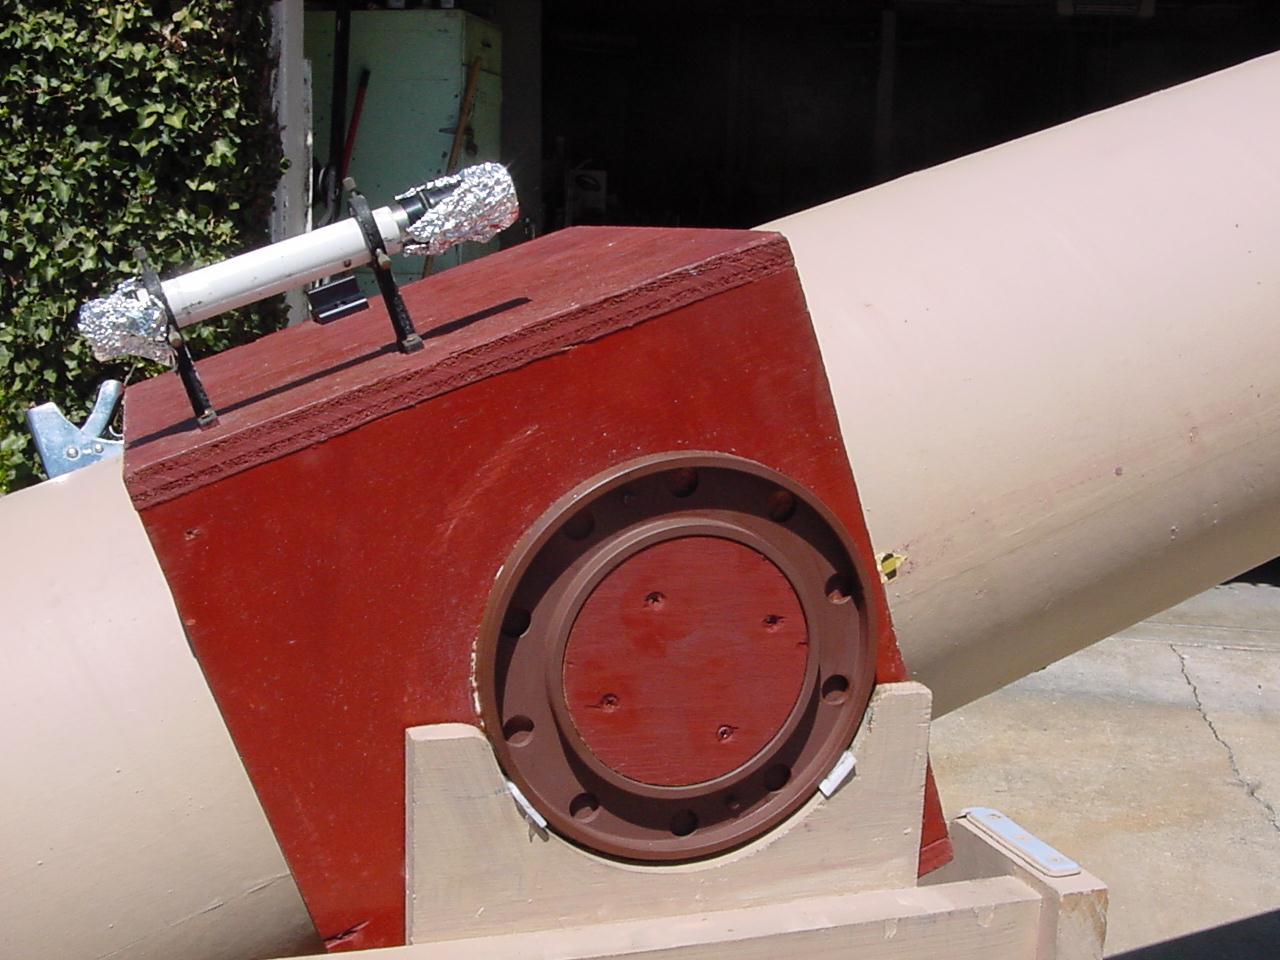
| Build the tube box so the inside of the tube box is 1/8 inch larger than the outside of the tube. For a small telescope the tube box length can be equal to its width and depth. |
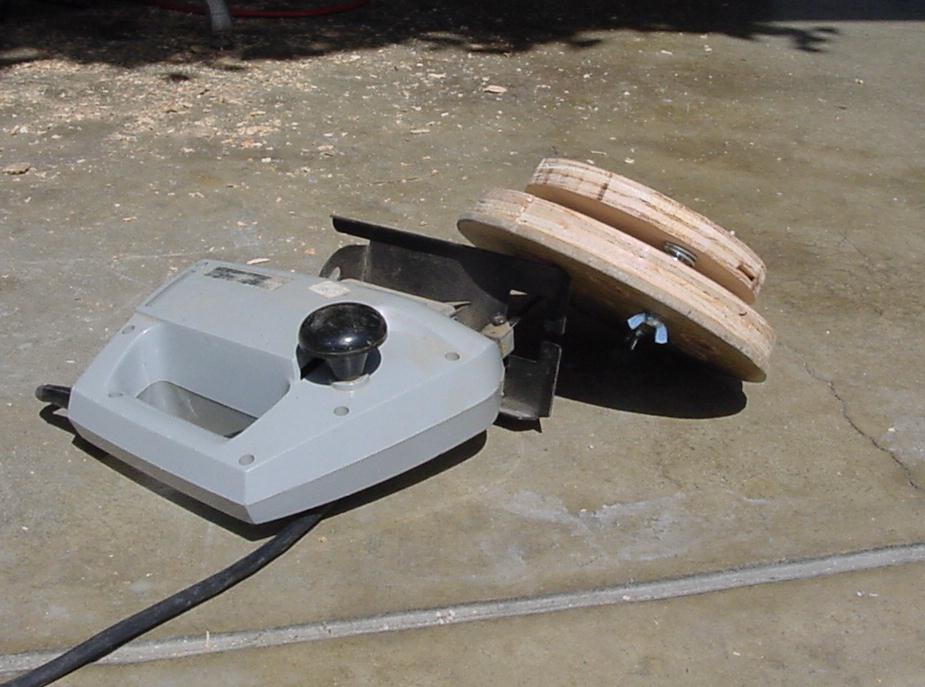
| Make the altitude bearing disk and mount it on the tube box off center. |
| Install the mirror cell and the spider temporarily and slip the tube into the tube box. With the tube box sitting on a bolt or screwdriver slip the tube through the tube box until it balances and install a screw through the tube box into the tube temporarily. |
| The square base boards will be bigger than the structure, the structure wider than the cradle boards and the cradle boards will be outside the tube box. Decide on the size of the base ( ground ) boards. |
| Cut the ground boards and structure parts and install the wheels on the fixed base. Two wheels should castor and the other two wheels should follow. |
| Assemble the structure on the rotating base. |
| Install the cradle boards on the structure temporarily and test the tube in the cradle boards for full travel. Relocate the cradle boards as necessary. Note that the altitude bearings were mounted above the center of the tube box. |
| Assemble the altitude bearing and azimuth bearing. |
| Test that altitude and azimuth bearing friction is nearly equal. Adjust as necessary. |
| Install the spider and check the prime focus image location using the moon as a light source. |
| Install the eyepiece tube temporarily so the Ronchi grating is able to travel from the image plane to about 1/2 inch inside the image plane of the test star. |
| Collimate the telescope. |
| You can now setup an artificial star about 200 feet away and begin Ronchi- testing. Since the artificial star is closer than infinity the focus will be a bit father outside of the tube. But since the ronchi test is usually done inside of focus these two factors will tend to cancel. |
|
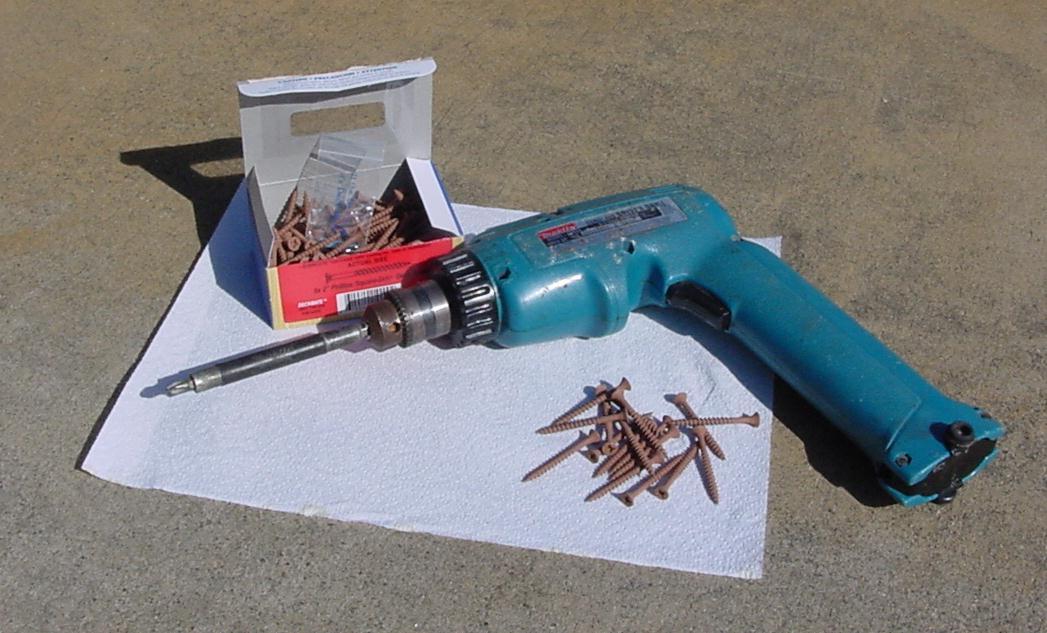
If you have very many telescopes to assemble these battery powered screwdrivers and deck screws make it easier. Otherwise you might want to pre drill under size screw holes to save your wrist. |