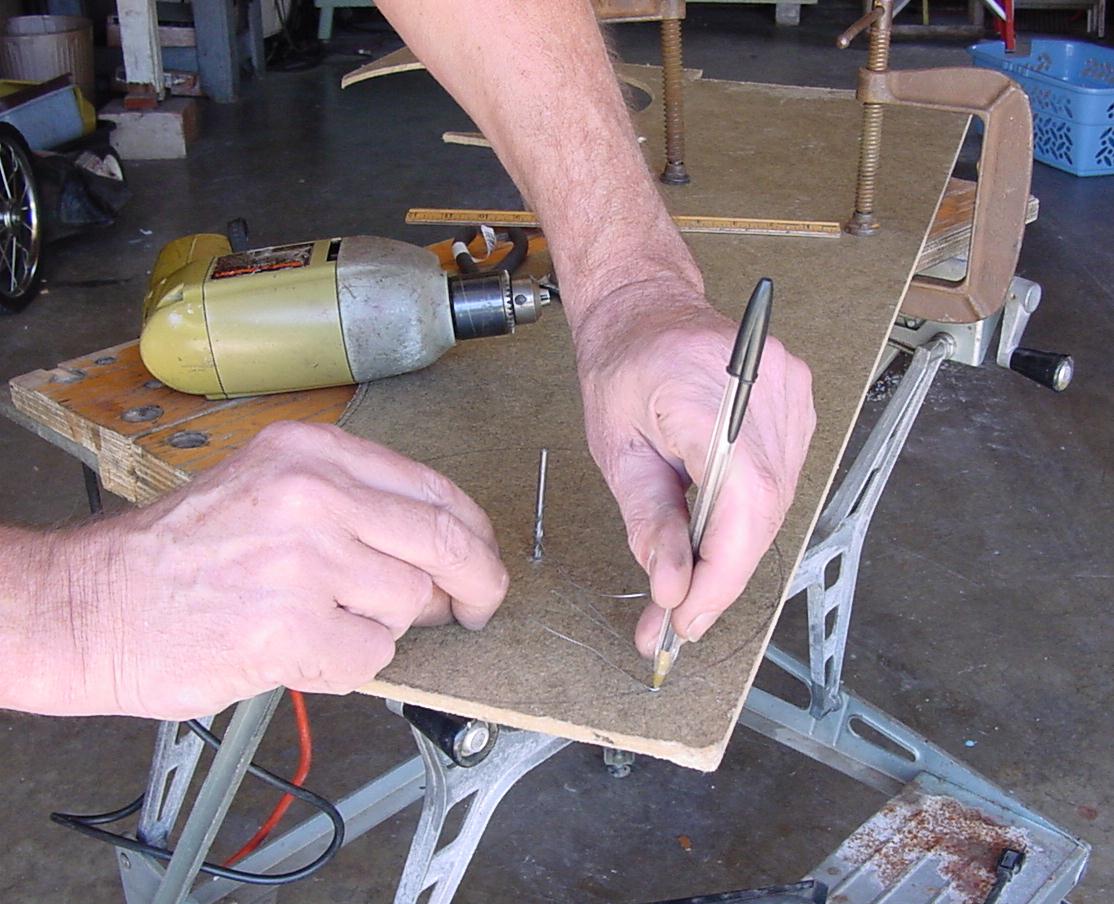
Now we layout the bolt holes with a 60 degree triangle.


Three Point Mirror Cell
A simple mirror cell for all mirrors 9 inches diameter or smaller and standard thickness Pyrex blanks 12 1/2 inches or smaller. A standard thickness 12 1/2 diameter Pyrex blank is 2 1/4 inches thick and weighs about 20 pounds. A 12 inch mirror less than 1 inch thick we call a thin mirror. This cell design will not support a high quality thin mirror well enough to take advantage of good seeing conditions. For this example we choose a 6 inch port hole mirror blank.
|
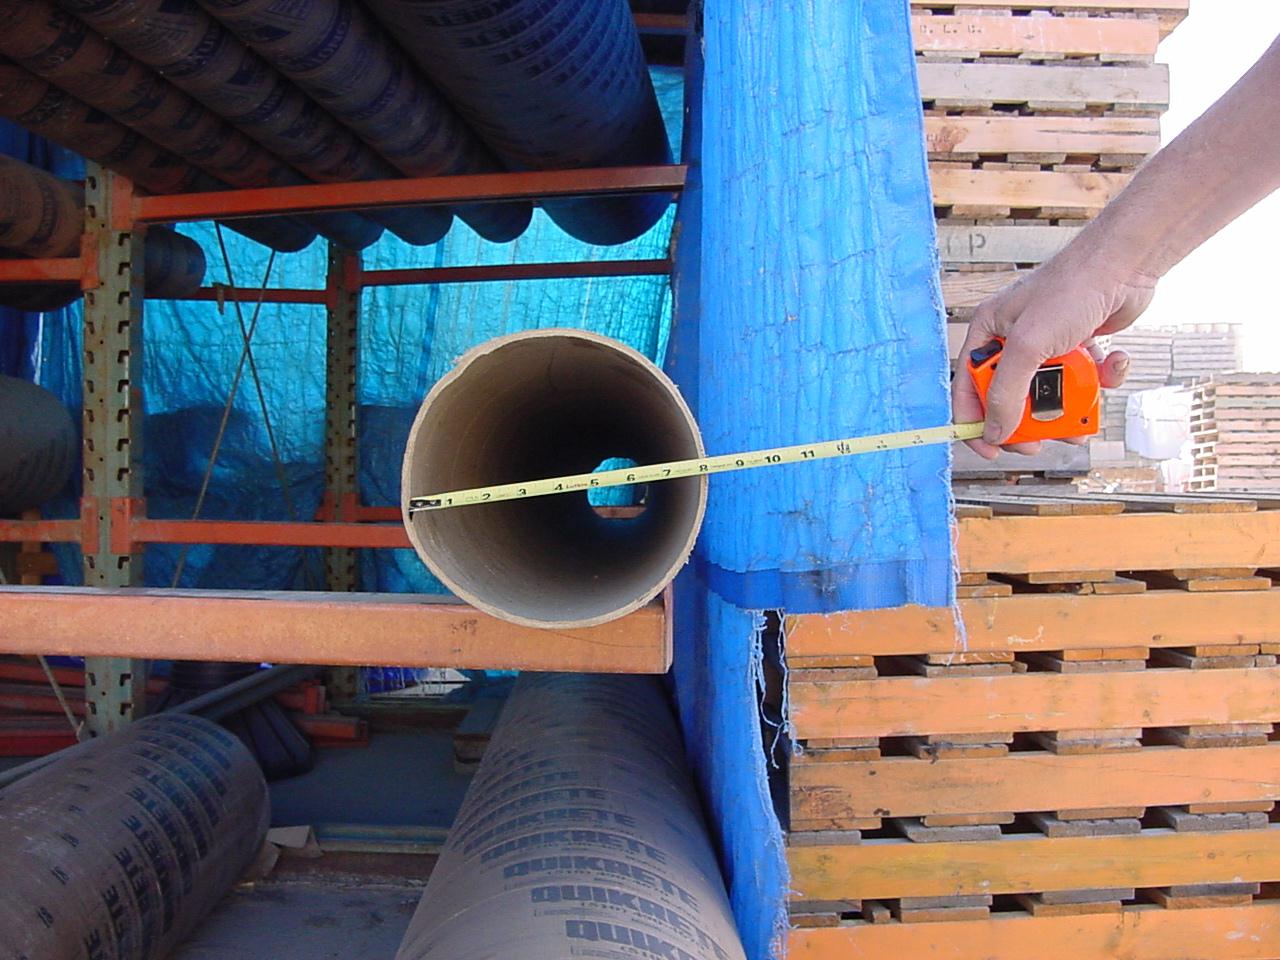
At the building supply we select a cardboard tube that is two inches larger than the mirror. In this case we find a tube that seems to be 7 15/16 to 8 inches in diameter. Tubes specified as one diameter may be slightly under size so check the tube diameter before cutting parts. The shinny plastic anti-stick surface inside the tube should be peeled away. In humid tropical areas paint the inside of the tube with 'Copper Green' wood preservative and allow to dry for a month. |
|
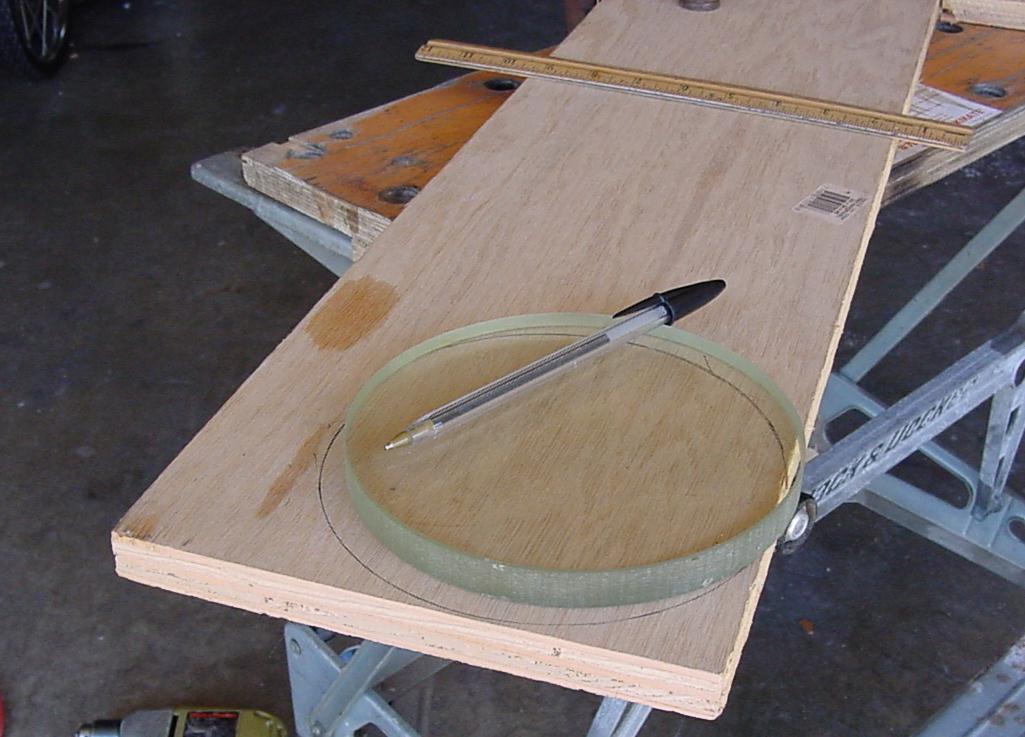
Our cell will have three circles, one for the mirror, one that just slips into the tube and a third that forms a flange so the cell cannot slip up the tube. We were able to buy small amounts of material at Home Depot or Orchard Supply. Without a compass we use a piece of wire to draw the flange circle. |
|
The flange circle need not be thick. |
|
Here we use the mirror to draw the mirror circle on the plywood. No problem with saw dust and finger prints here since the mirror is still being polished. |
|
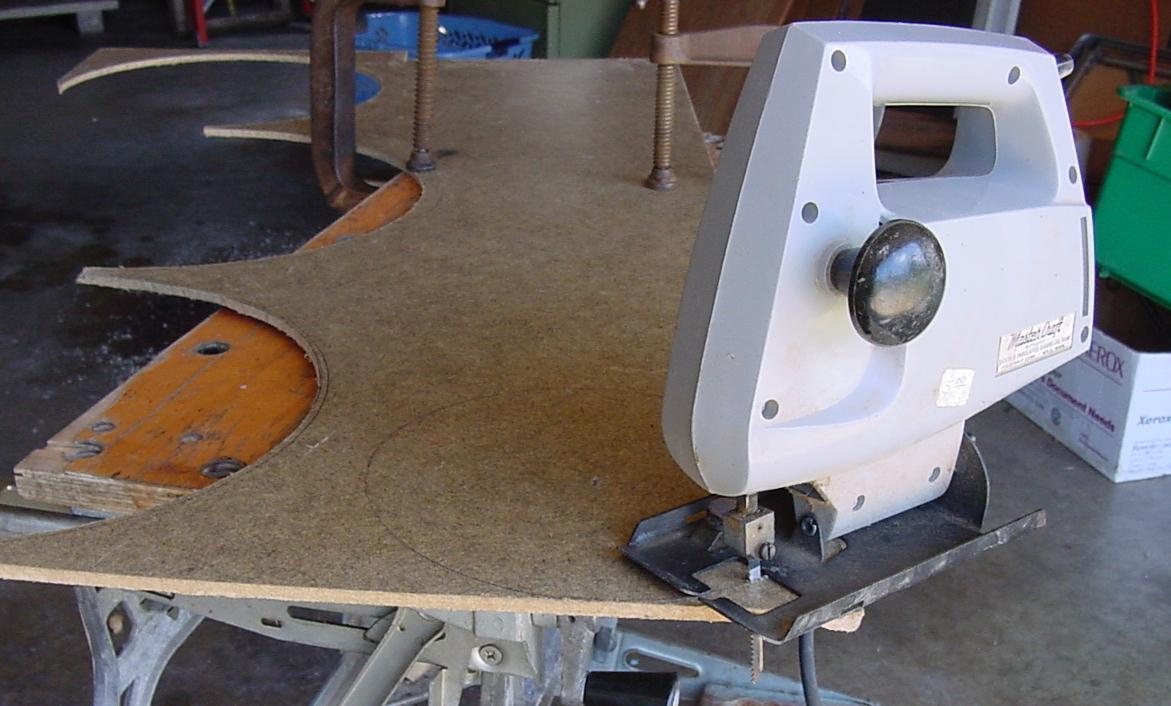
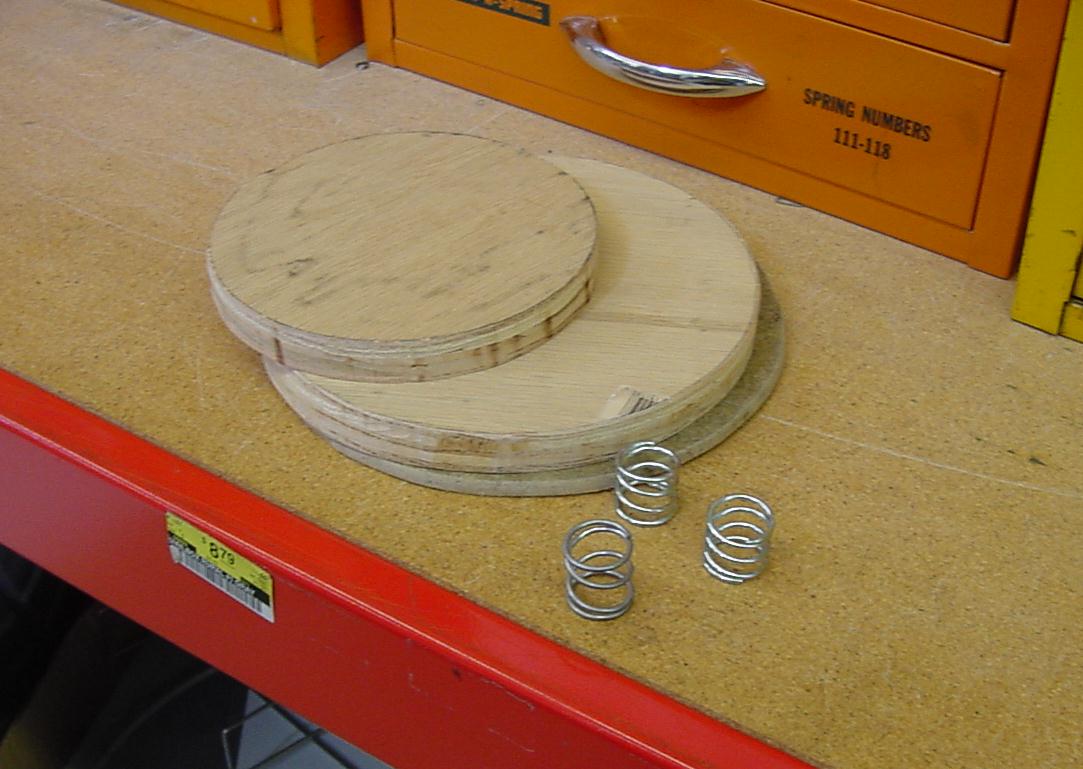
The three circles have been cut. |
|
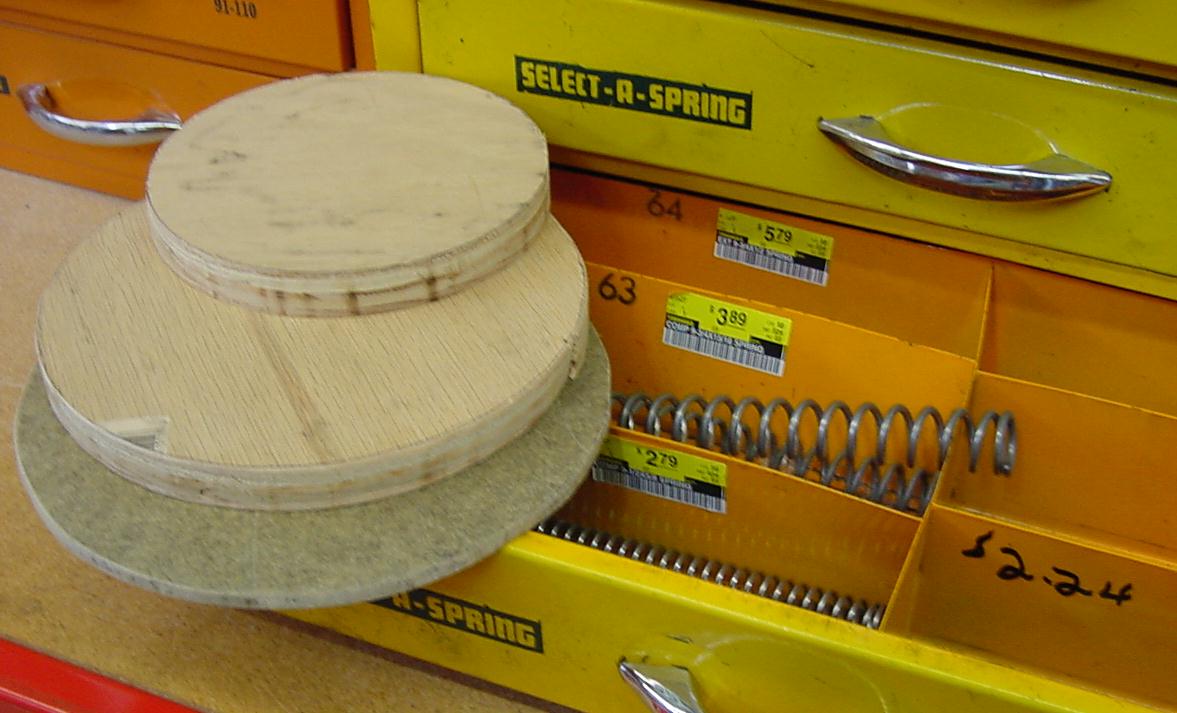
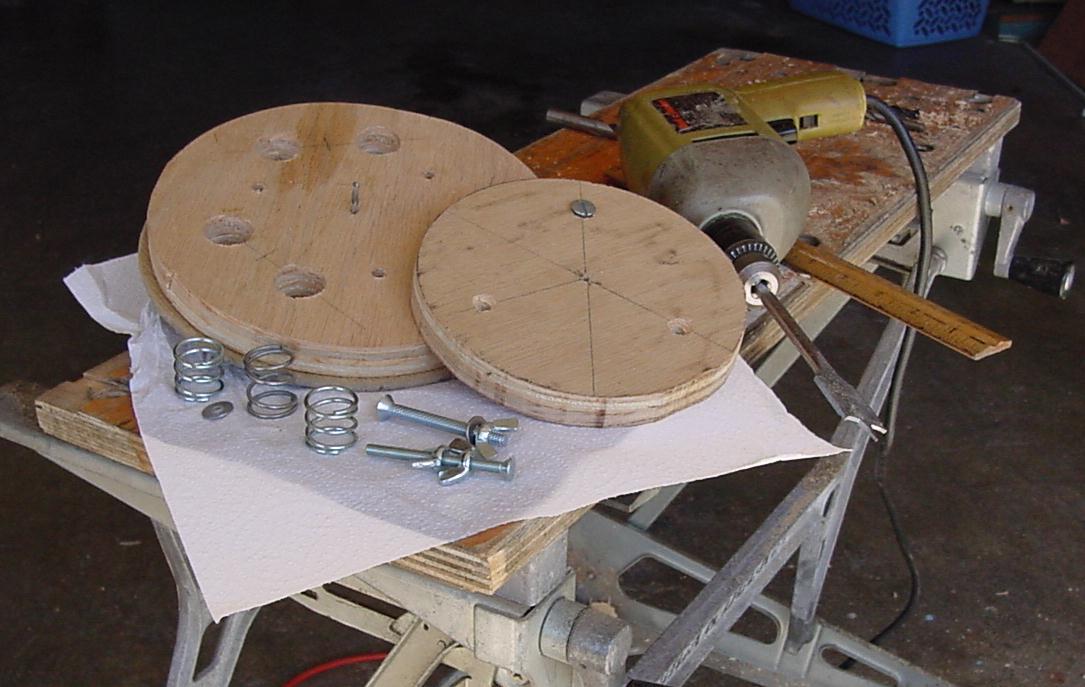
Next to the hardware store to look at springs. |
|
These look the right size for a six inch mirror. They are not stiff like automotive valve springs. |
|
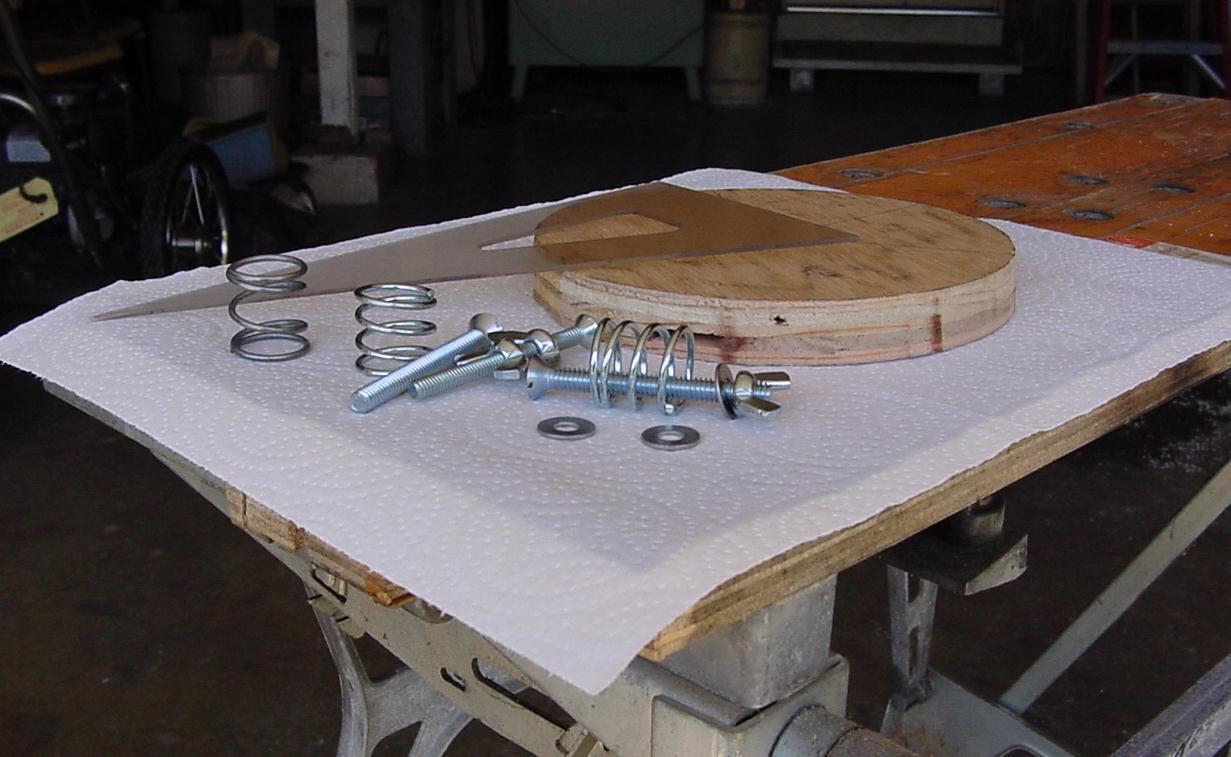
We use flat head screws because we don't want the mirror
back to be against the heads of carriage bolts.
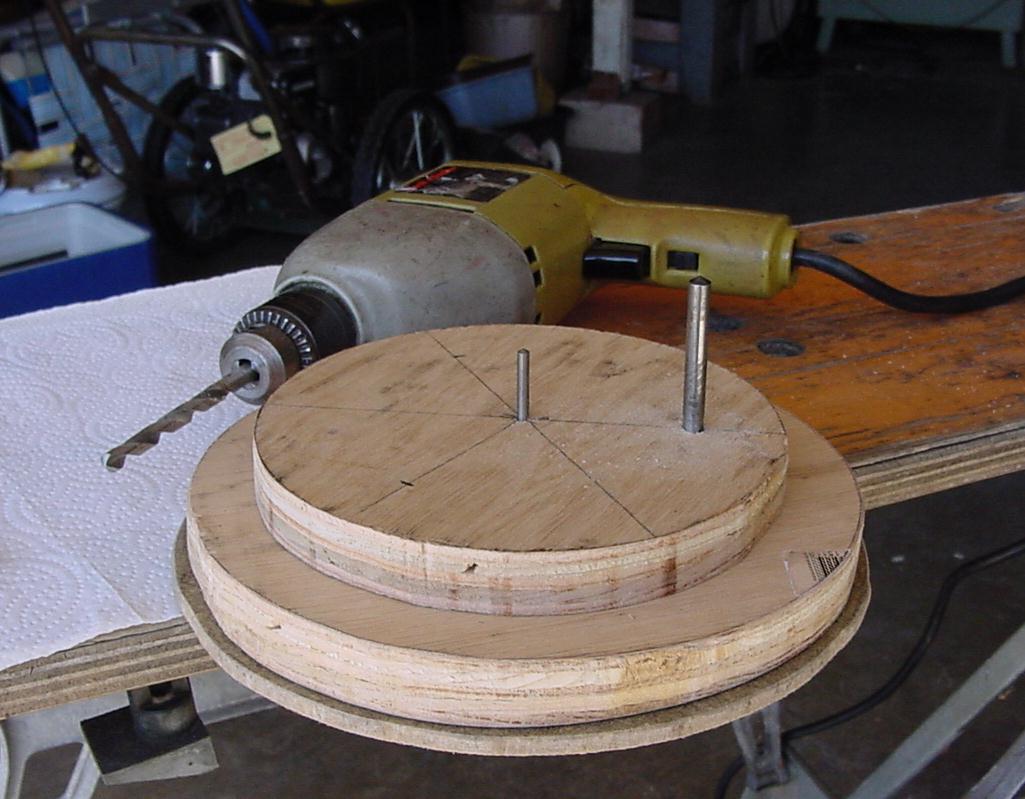
Now we layout the bolt holes with a 60 degree triangle. |
|
Here we have the center hole and one of the bolt holes drilled. We 'pin' these holes with old drills. |
|
We drill the other two holes. It would be easy to get the holes straight through the stack if we had a drill press. Next we drill vent holes with a 3/4 inch spade bit. Opps, almost drilled out one of the bolt holes. Without the vent holes it would take too long for the mirror to cool to night temperatures. |
|
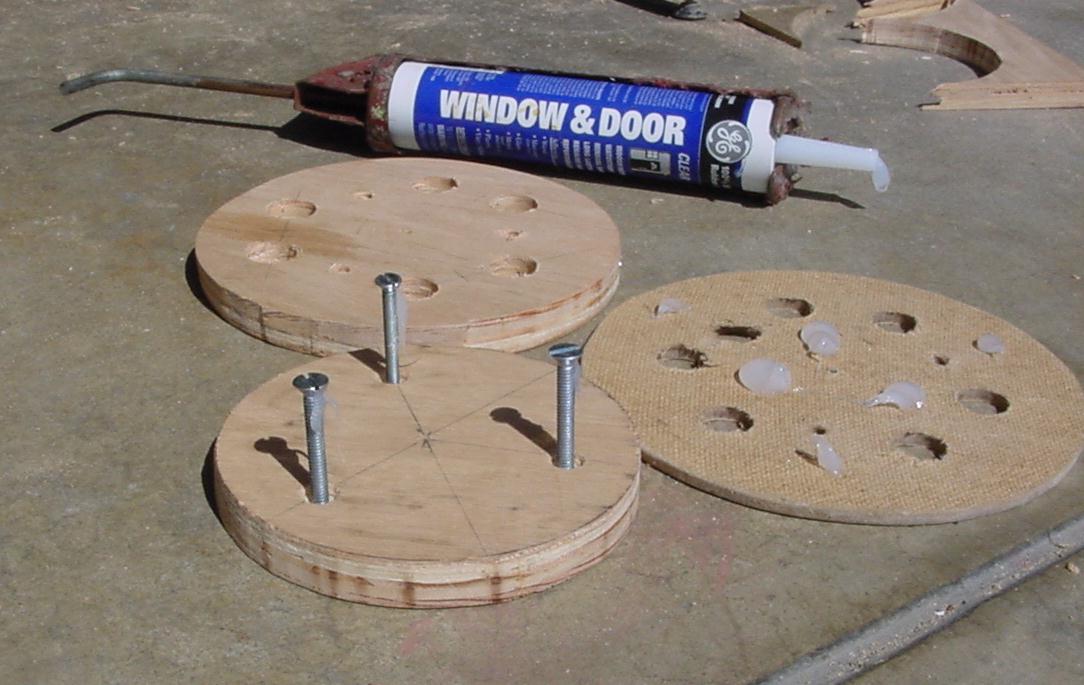
Next we counter sink the mirror circle for the 1/4 inch diameter flat head screws. We found an old 1/2 inch drill bit to do this. Next we assemble to check for fit. The screws are tight in the mirror circle, that's good, but they are not loose in the telescope circle so we run the drill through the telescope circle at a slight angle to enlarge the holes. |
|
Next we glue the telescope flange to the telescope circle and glue the flat head screws into the mirror circle with silicon sealant. Since the alignment of the holes is not perfect it will only go together one way. Best to mark which way it goes with a pencil during test assembly so we won't glue it the wrong way. |
|
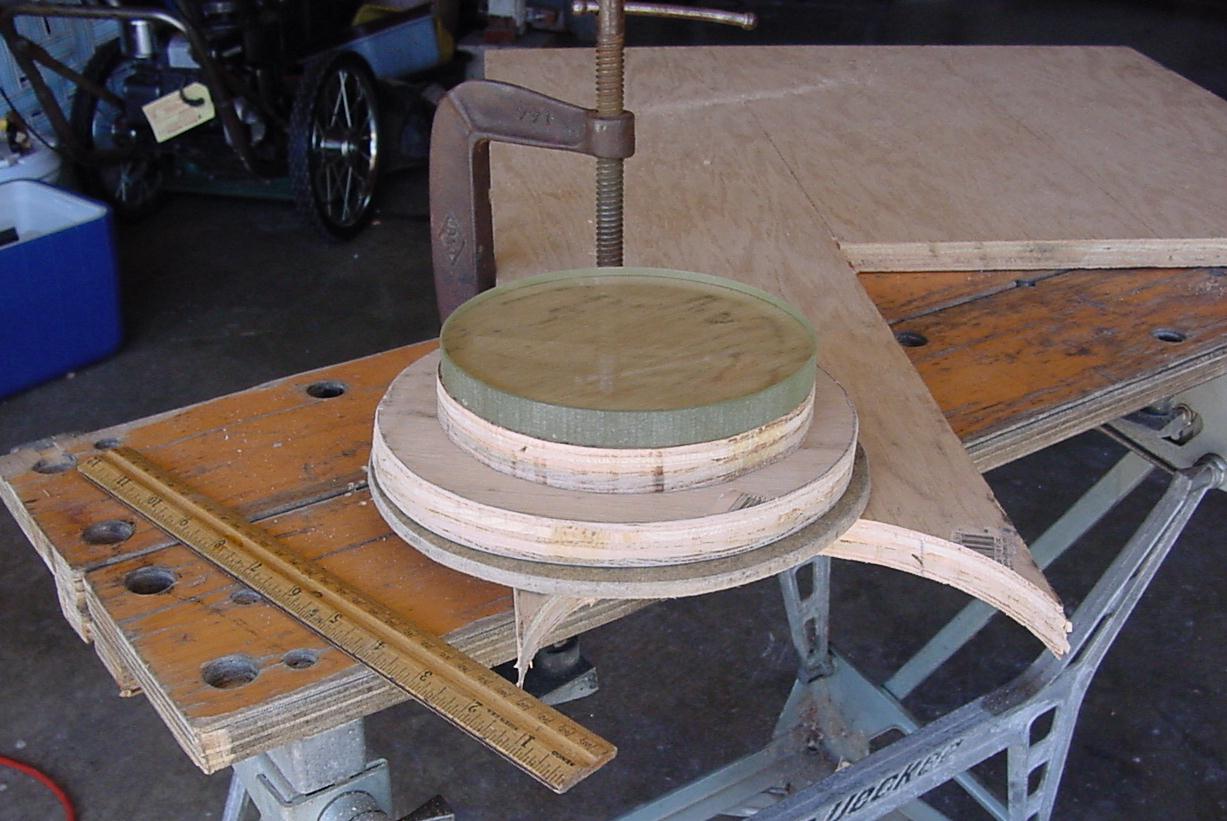
We tighten the wing nuts until the springs are completely compressed and leave it over night for the silicon seal to harden. Also at this point we can slip it into the bottom of the tube and drill under size guide holes for three or four PK screws. ( Alternative ) We drill through the tube into the tube circle. Two wing nuts are usually at the bottom and one at the top of the tube bottom. Make a pencil index line from the flange circle onto the tube for easy assembly later. |
|
The next day we want to do a Ronchi test so we tape the mirror to the mirror circle with masking tape. If the mirror is tight against the plywood mirror circle about three times around with heavy duty masking tape will be strong enough. If there is any uncured silicon seal it will make the masking tape un-sticky so be aware. Also if you slip and drop the mirror on damp grass its a lot better than if it were dropped on concrete. |
|
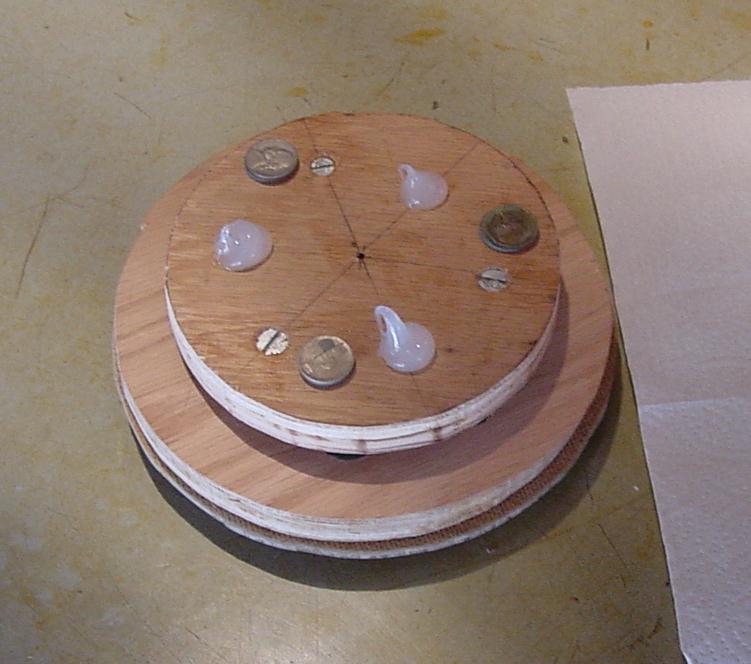
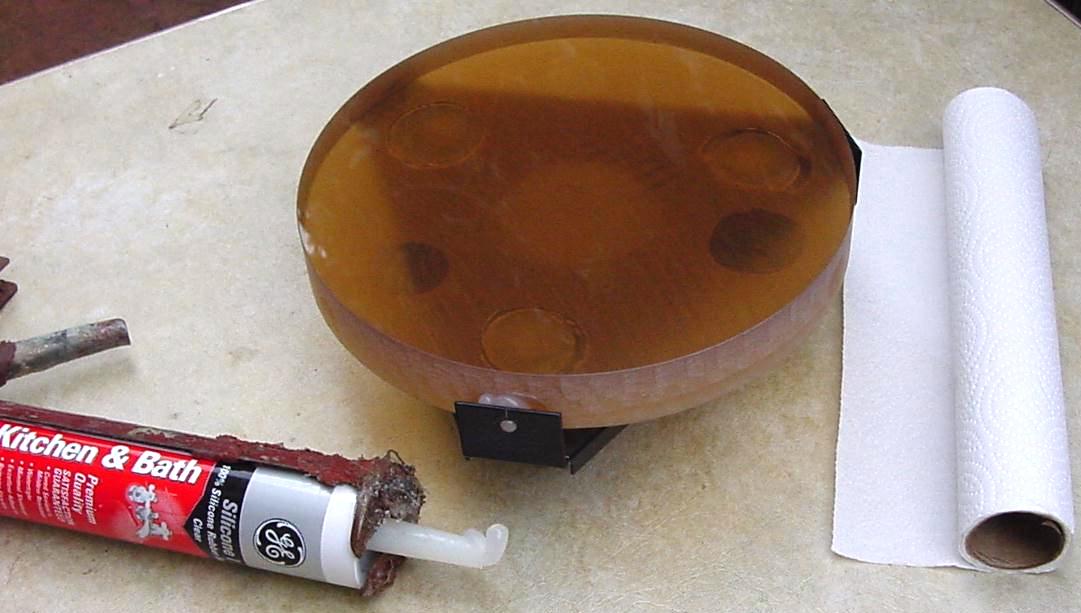
Now its much later and the mirror has been figured and coated. The mirror is on the table with a sheet of paper towel on it to keep the dust off. We put three stacks of two nickels on the mirror circle over the heads of the counter sunk screws. In the following pictures I use an uncoated porthole so you can see the arrangement. |
|
Next three globs of silicon sealant approximately at the equal weight points. If you are in a very humid area warm the plywood near a light bulb for a few hours to make sure it is dry before gluing. |
|
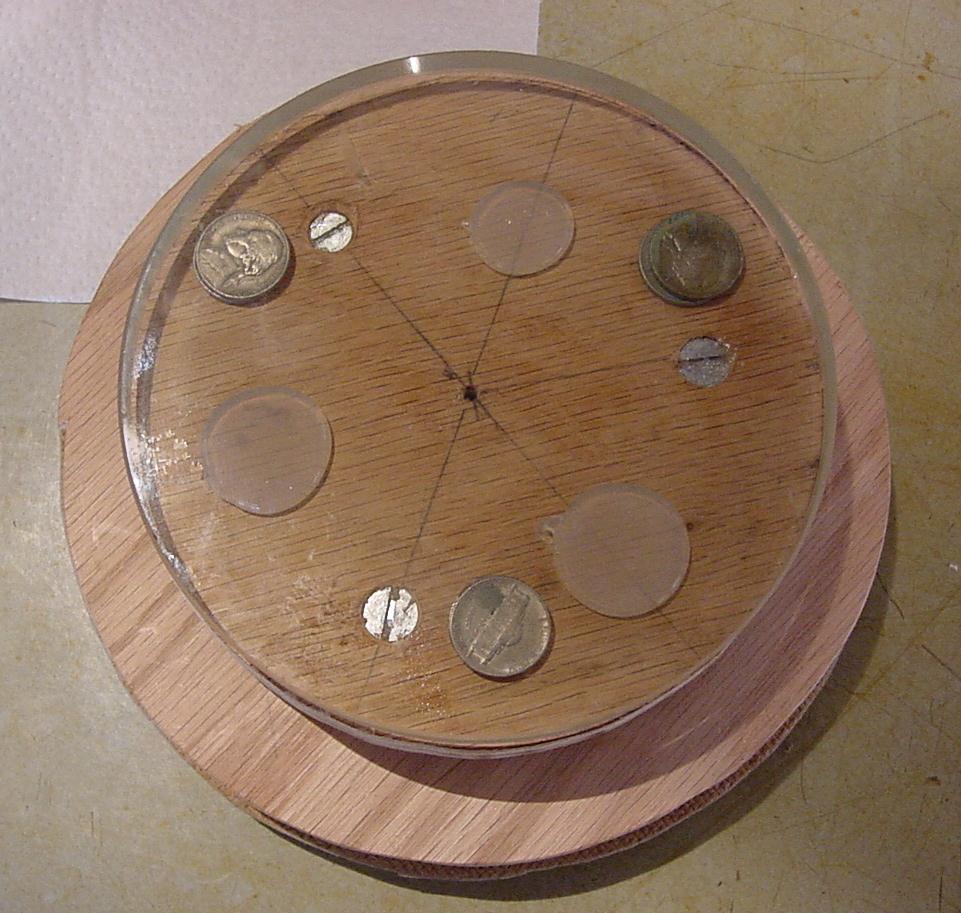
We lower the mirror and the silicon sealant is compressed. And center the mirror above the mirror circle. |
|
Now its covered and we leave it over night. Maybe put a small book on it to keep the paper towel from blowing away and to keep the vapor from the sealant away from the mirror coating. And again make sure the mirror is centered on the mirror circle. |
|
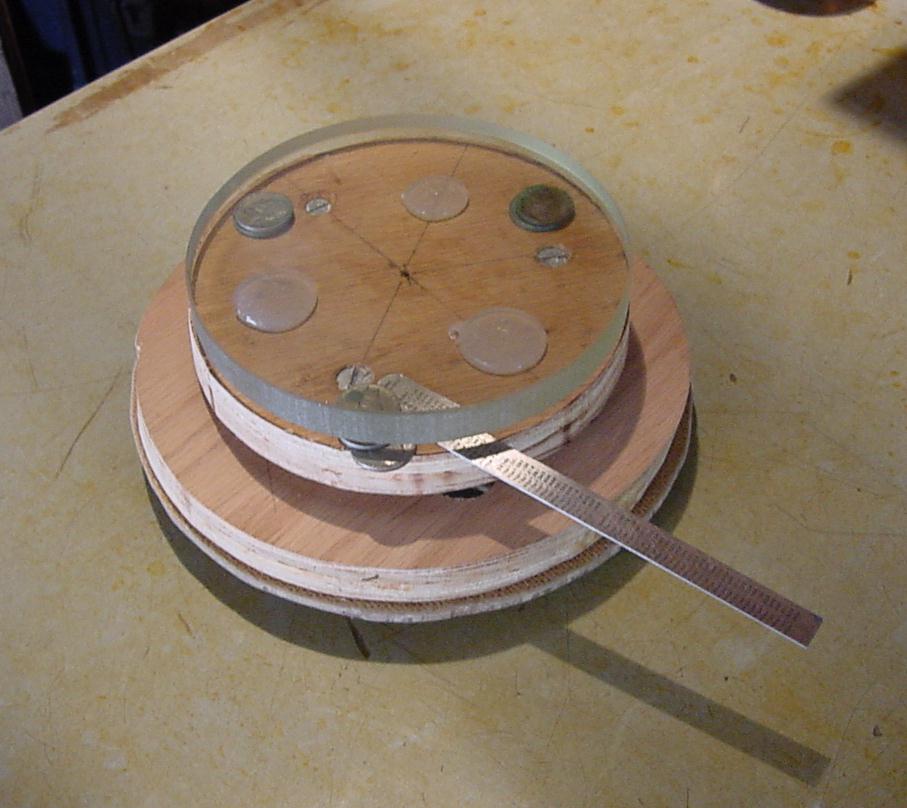
The next day we carefully remove the nickels with a machinists scale, with the mirror covered of course. |
|
Since the mirror was figured and the telescope was collimated before the mirror was coated all that remains is to re-install the mirror in the telescope and check the collimation. When the telescope is not in use tape or rubber band dust covers over the ends of the tube. |
|
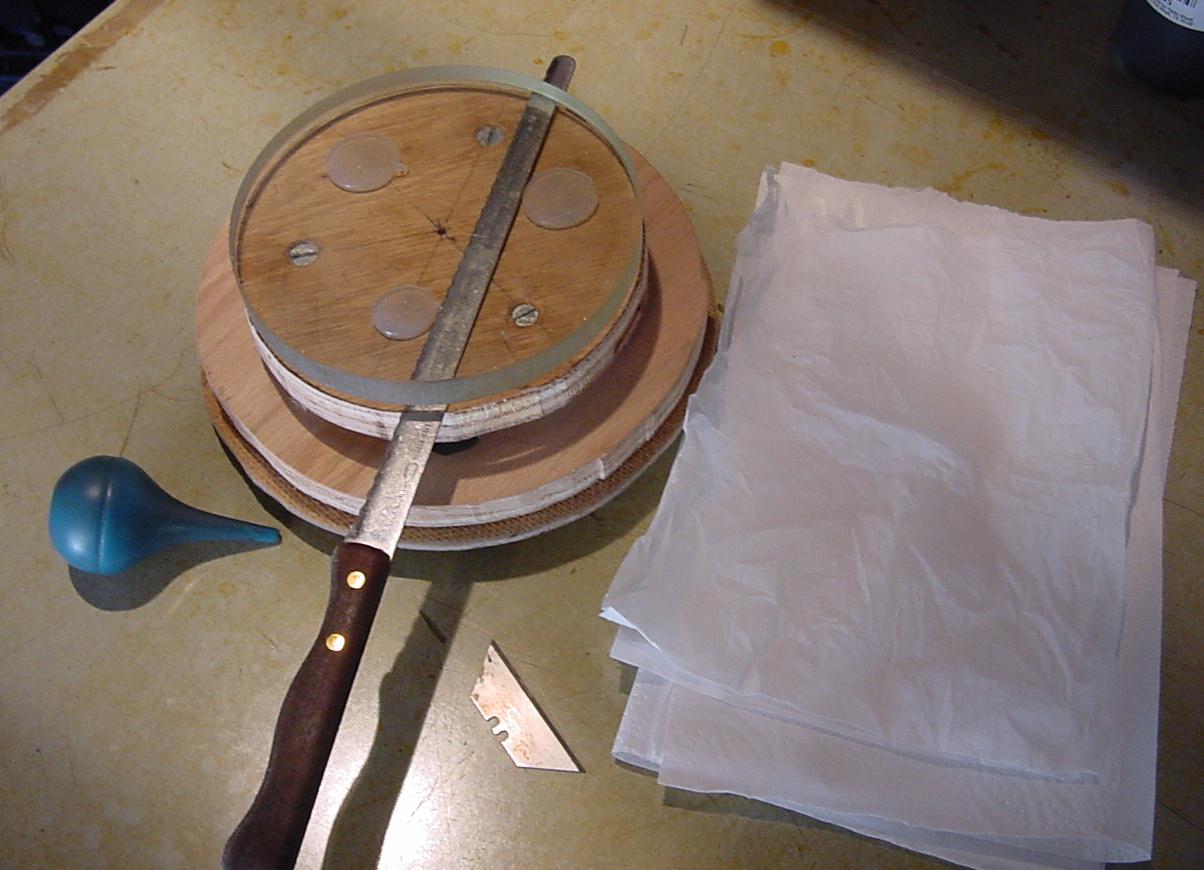
Time has passed and our mirror has become dusty and there is a film of resin on the mirror. Time to remove the mirror for cleaning. We have laid out a bed of paper towels on which to place the mirror face after cleaning. To separate the mirror from the circle we put a bread knife between the silicon rubber pads and rotate the knife to cut through two of the pads. The mirror can now be rotated horizontally to twist loose the remaining pad. Careful with the little crumbs of silicon seal we scrape from the back. They are sticky and can stick to the mirror face. |
The mirror cell above can be built in an afternoon. Being made of wood it will make less heat waves than metal mirror cells. A 12 inch full thickness Pyrex mirror may not come to thermal equilibrium with the surrounding air during an evening star party. Heat from the mirror surface will heat the air for the first half hour or so causing bad heat waves. After that the low thermal conductivity of the Pyrex will reduce the rate of air heating. The thermal expansion and contraction of the Pyrex won't be a factor except possibly in the very best seeing conditions with a super good mirror. The tube that is larger than the mirror is important for two reasons. First stars that are off the optical axis will be vignetted by the top of the tube when using a wide angle eyepiece if the tube is too small and second extra tube space allows a place for heat waves out of the optical path.
 |
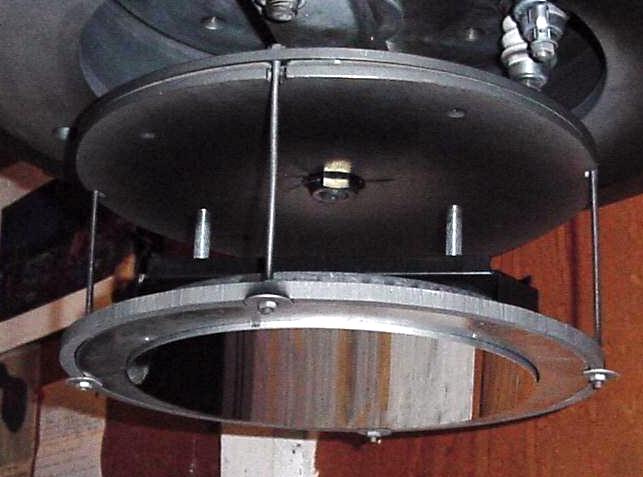
Here is a 10 inch mirror attached to an aluminum mirror
cell with silicon sealant. The designer didn't want the mirror to be supported
only from the back. The side supports have small holes through them
allowing silicon sealant to be squirted through to form the side pads.
The cell is attached to the telescope with three 1/4 inch steel bolts similar to the design above. |
 |
To coat this mirror we removed the washers normally used on the ten inch ring and allowed the mirror to drop down onto the mirror cell side supports. |