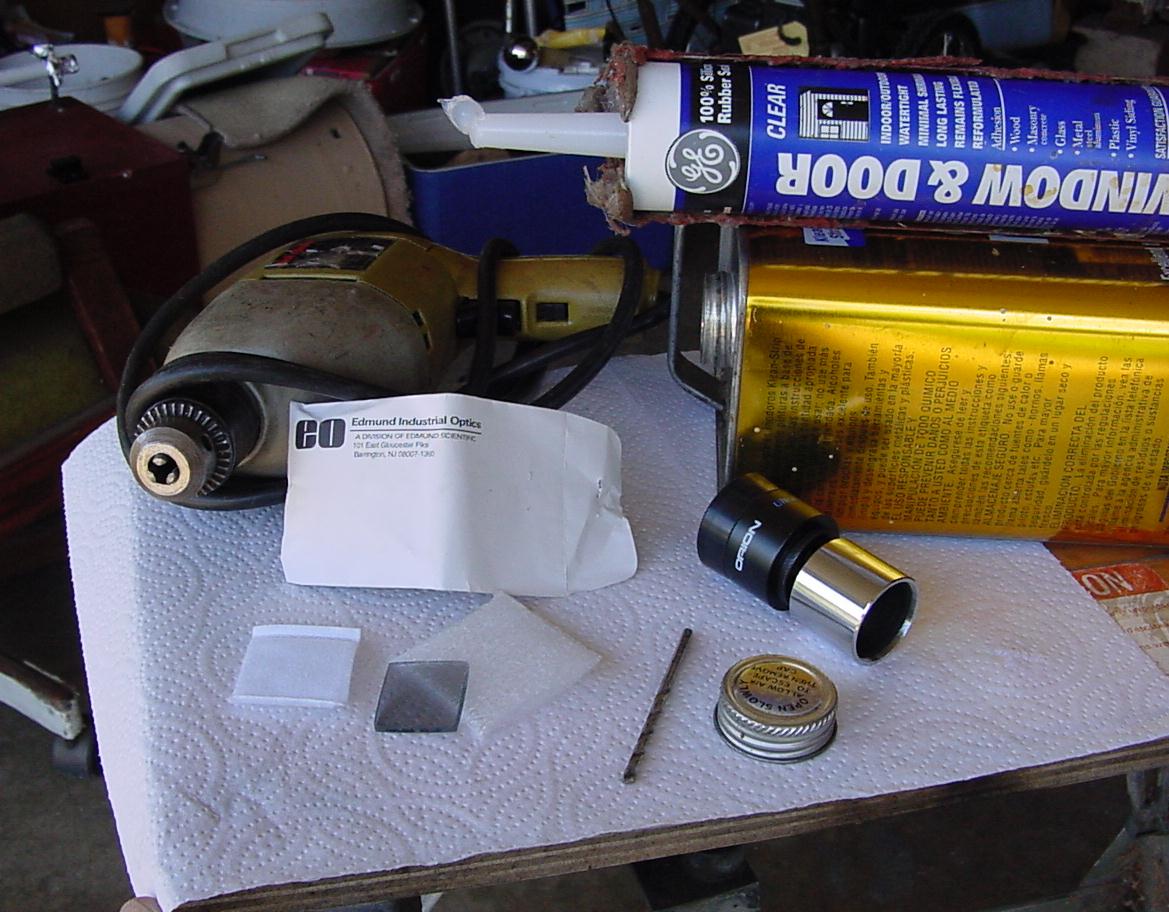
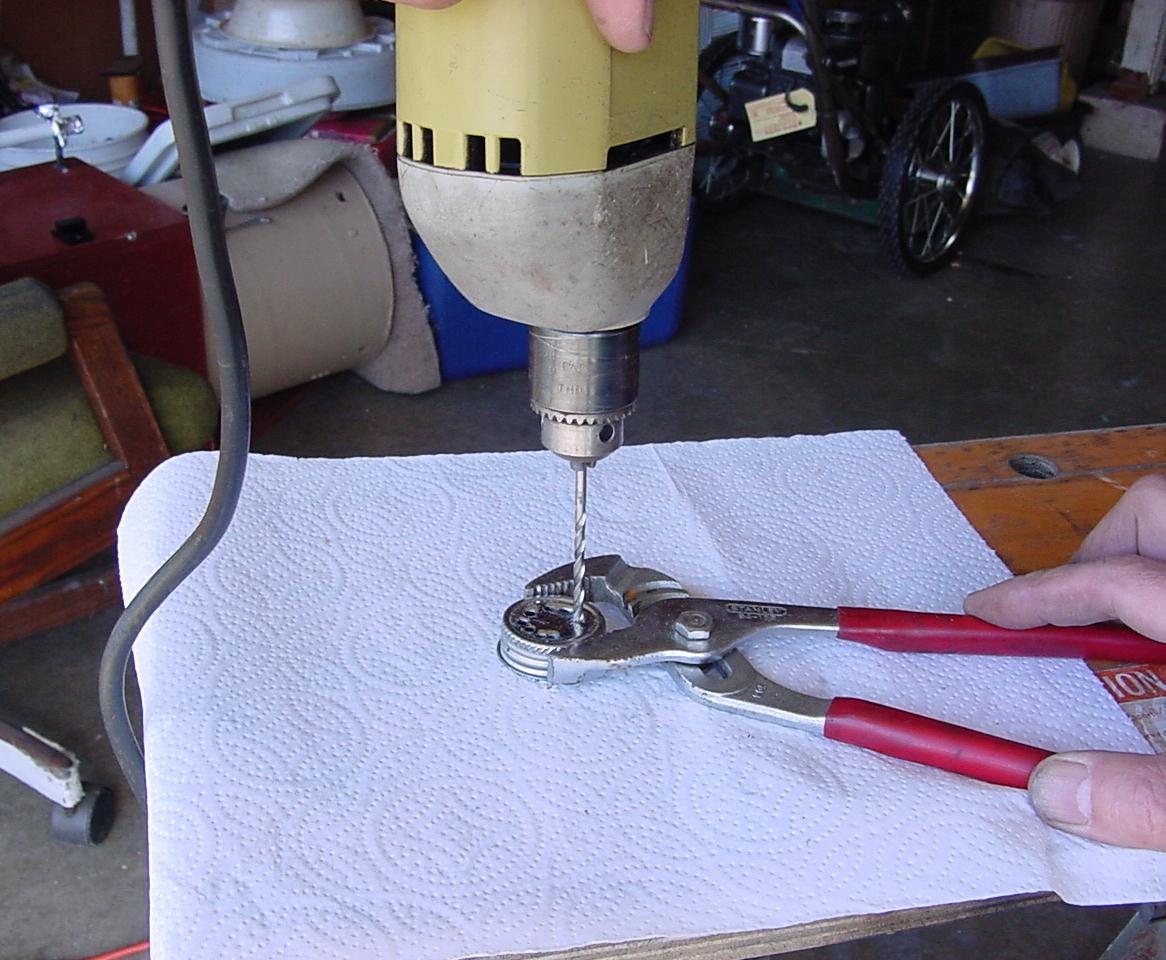
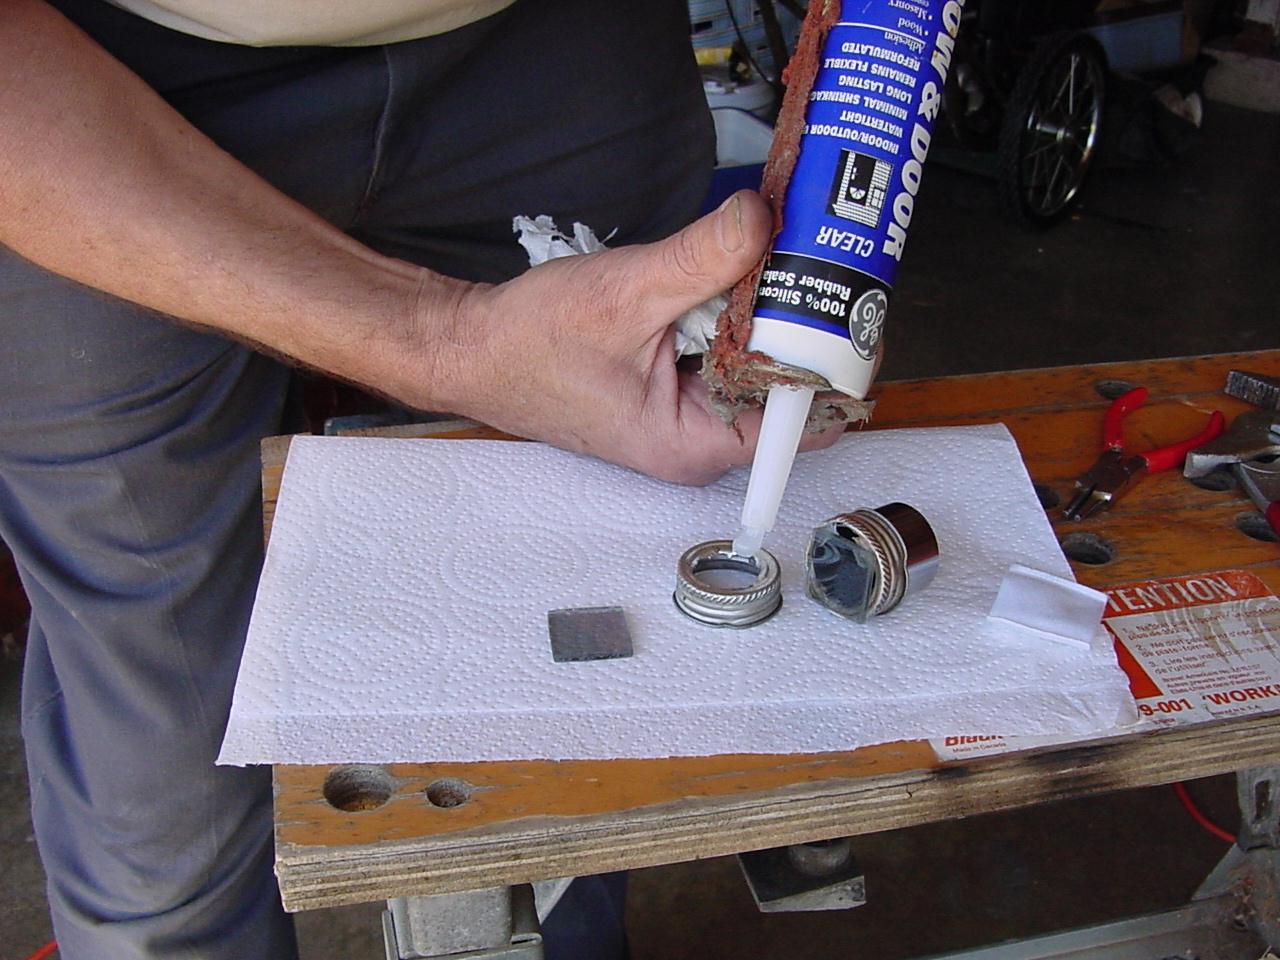
Gluing the ronchi grating.  

mkgrt1.jpg (172561 bytes)

Here we have the materials assembled including a 100 line per inch ronchi grating from Edmunds Scientific.

mkgrt2.jpg (165942 bytes)

We drill holes around the periphery of the center of the gallon can lid.

mkgrt3.jpg (161525 bytes)

Next we snip out the center of the lid.

mkgrt4.jpg (122119 bytes)

We have unscrewed the tube from an eyepiece.  The lid is loose on the eyepiece tube.

mkgrt5.jpg (63405 bytes)

We crimp the lid edge in three places and then test on the eyepiece tube.

mkgrt5b.jpg (51723 bytes)  
mkgrt5c.jpg (49644 bytes)

OK, Its just snug now.

mkgrt6.jpg (179493 bytes)

Next the RTV sealant.

mkgrt7.jpg (83997 bytes)

And smear it around the edge with my finger.

mkgrt8.jpg (70011 bytes)

And drop the ronchi grating in the center carefully to keep the glue from the center. The lined side of the grating is on the inside of the cap.

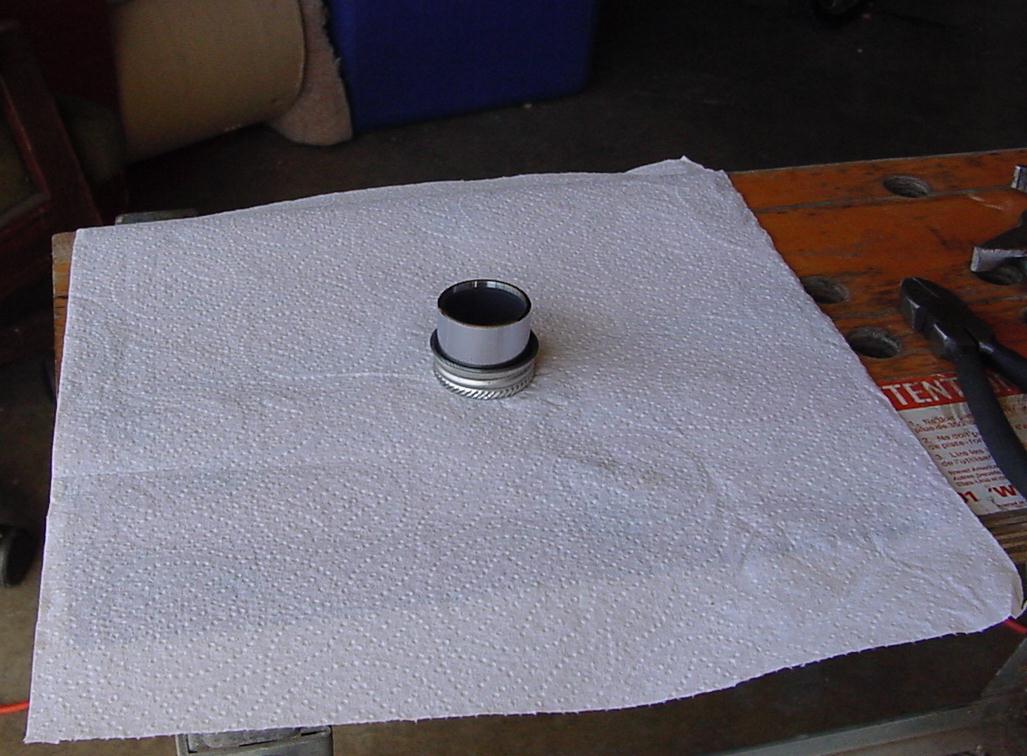
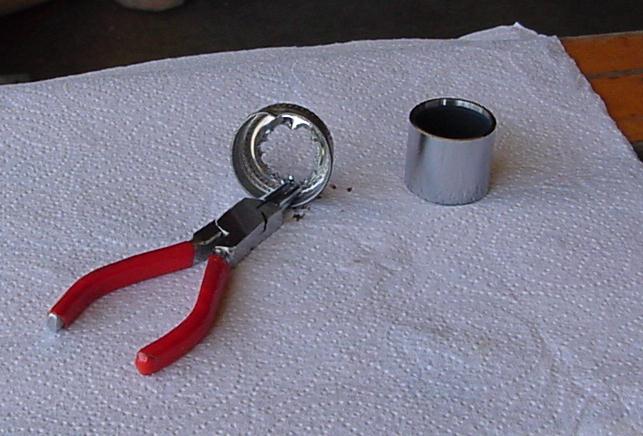
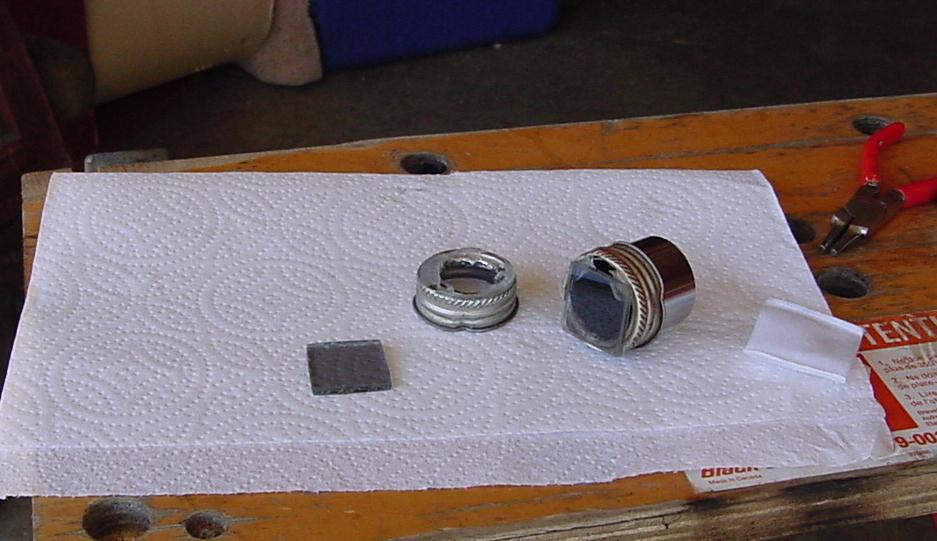
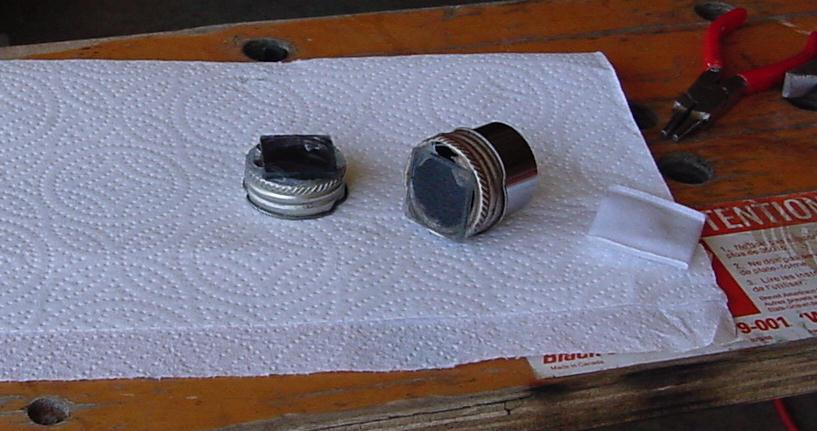
Now put a plastic cup over it and come back tomorrow.

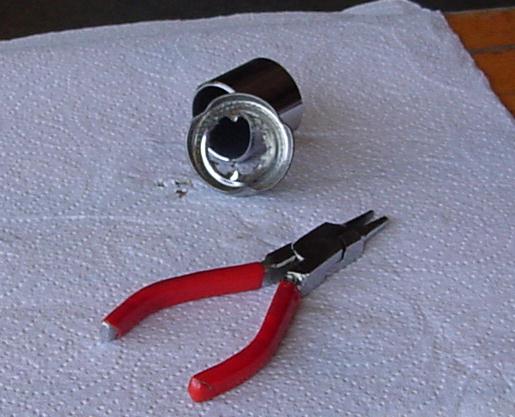
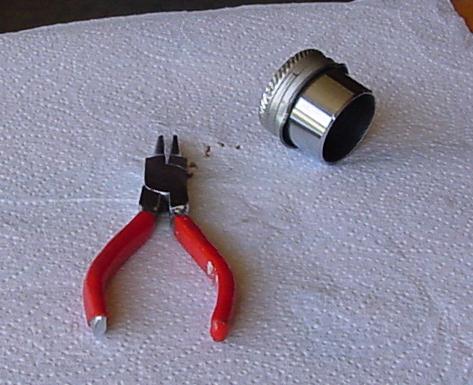
Making a knife edge for testing your telescope is even easier and cheaper than making a grating.  Use another gallon can lid and proceed as before.  Be sure to sand or grind away the sharp utility knife points.


Back