
Building a Spider for our 6 inch telescope. The same design works for most all sizes of amateur telescope.
|
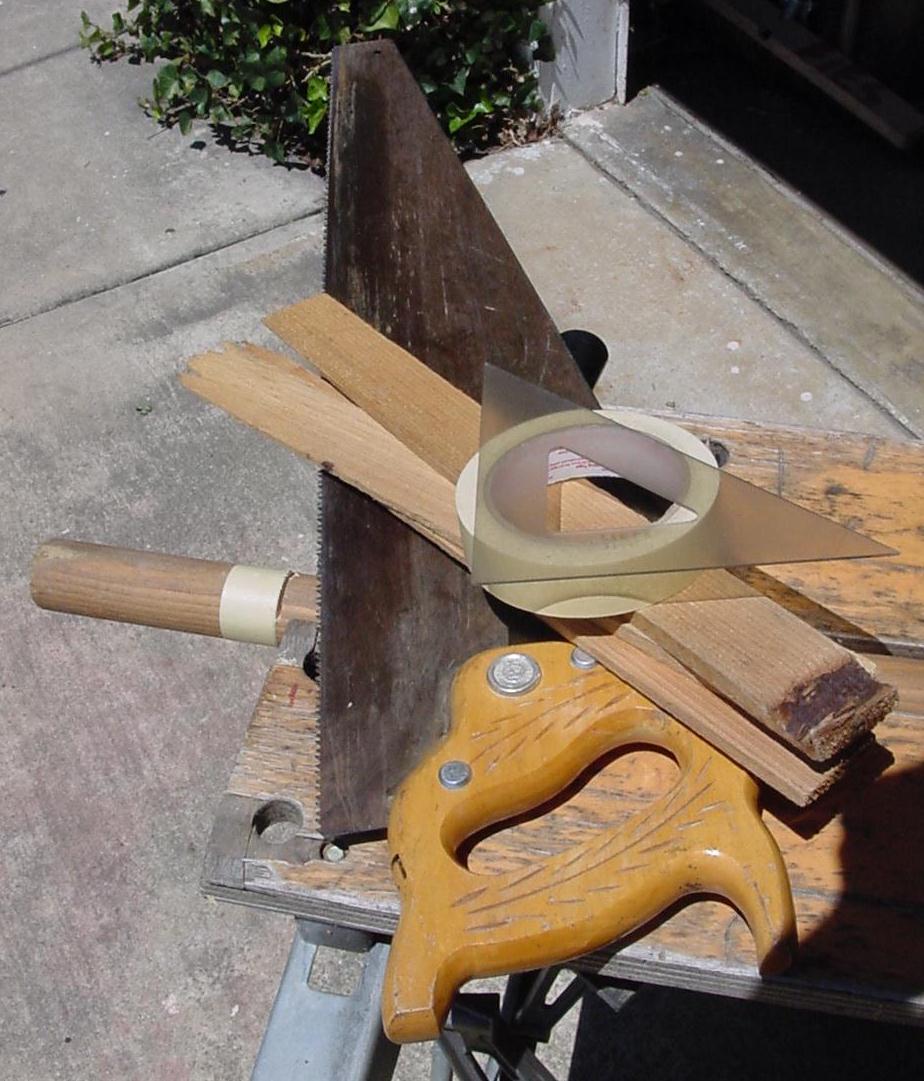
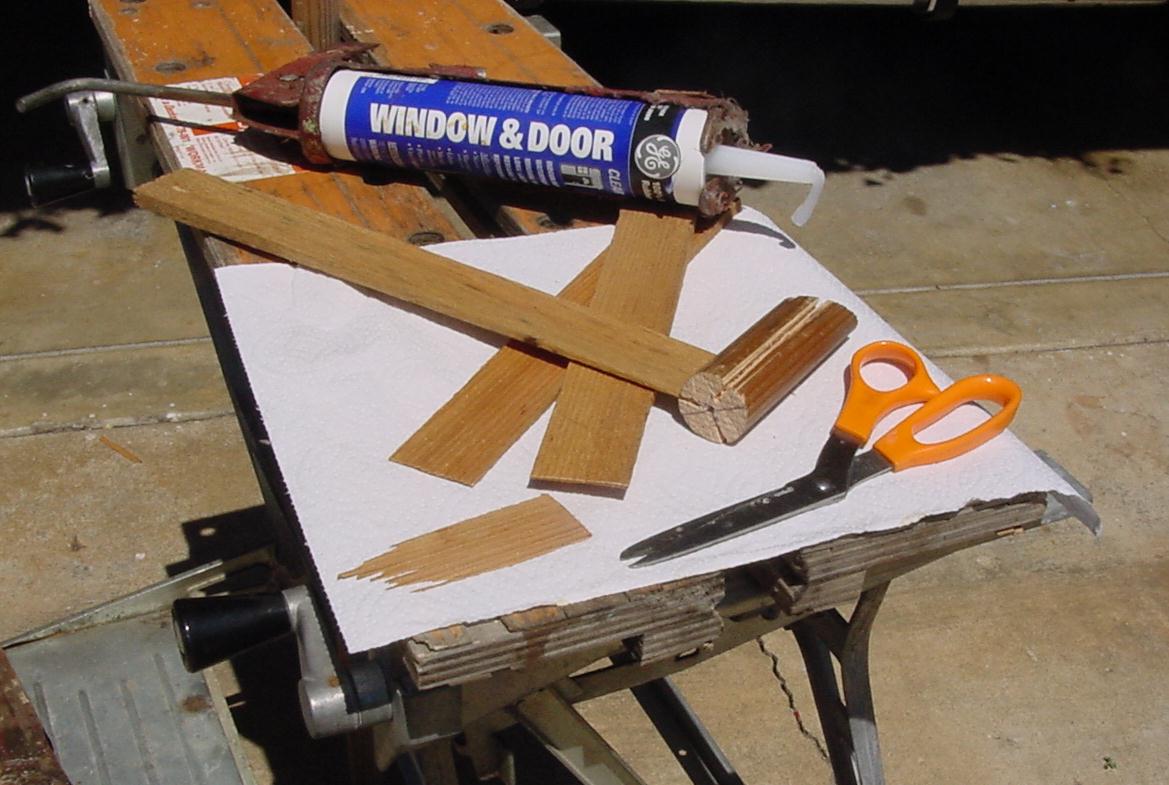
We have a 1 3/8 inch dowel and some tapered shingles. We used the masking tape to help us get a straight cut on the dowel. |
|
We found a way to clamp the dowel with a board to make a sort of miter box. If you get a good 45 degree cut it will make mounting the diagonal easier. |
|
OK, looks good. |
|
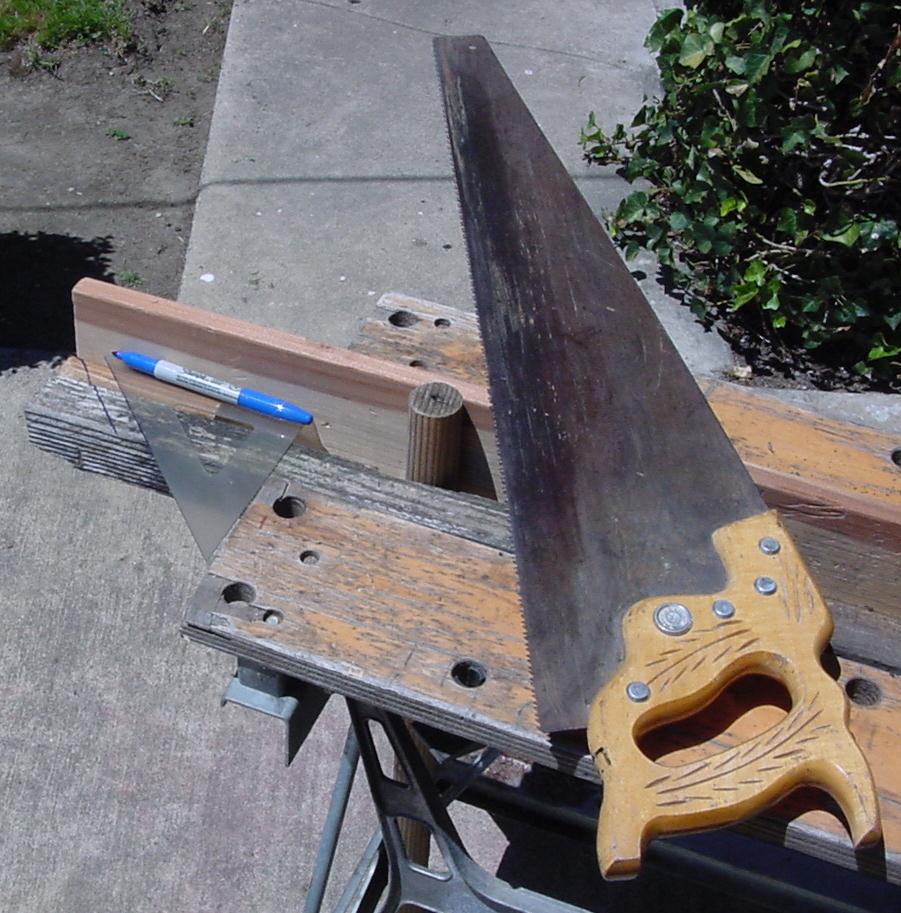
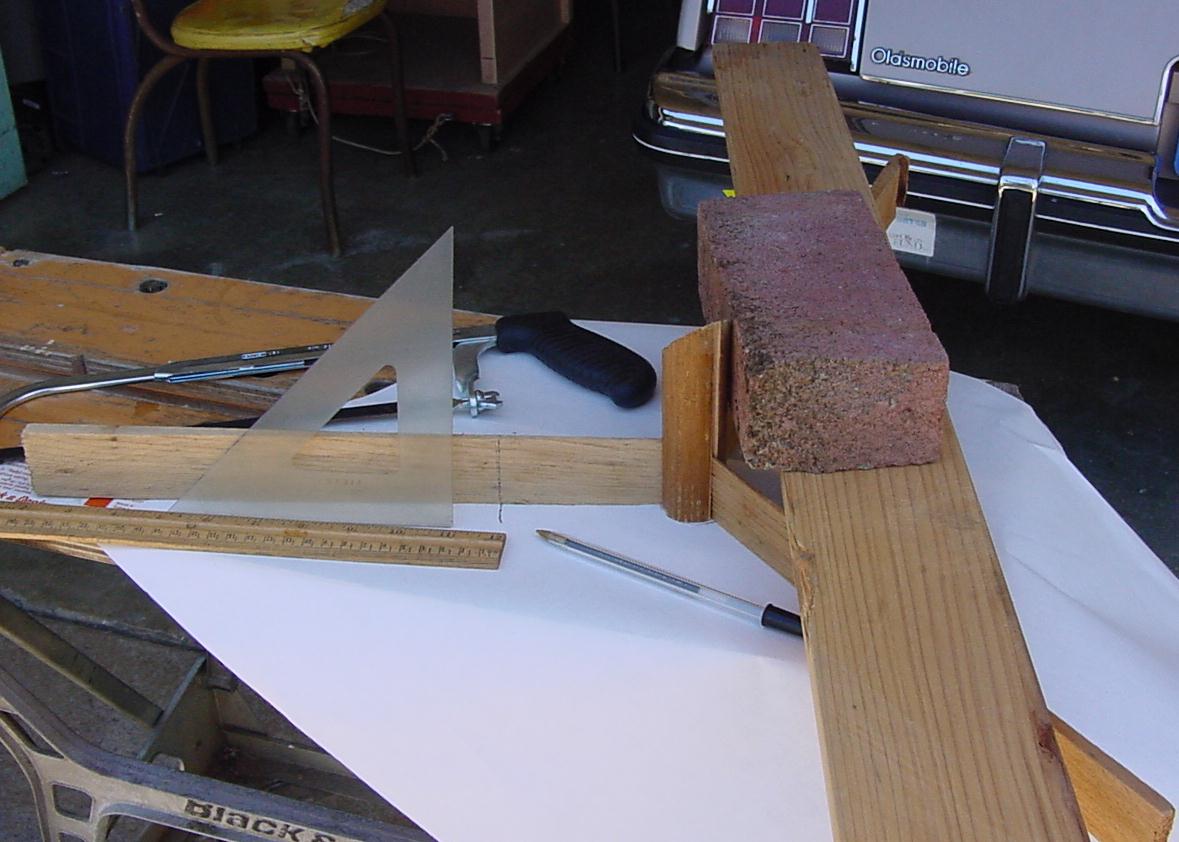
With our 30 - 60 triangle we lay out the location of the three legs. We will have a spider leg on each side of our eyepiece hole. With care we can start the saw straight down the length of the dowel. We saw almost half way to the center of the dowel. |
|
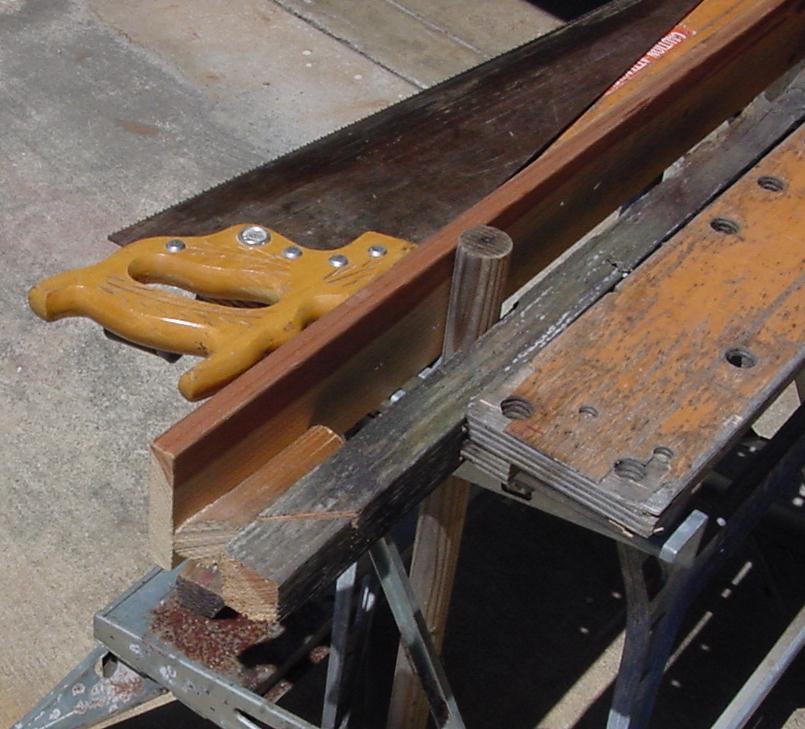
We move the shingle beside the groove until we find the part of the shingle that is just thick enough to slip into the groove. Then we cut off the shingle slightly concave. |
|
Next we put some silicon sealant in the grooves and slip the shingles into the grooves. We press the assembly flat on the table so it will dry straight. The next day we draw around the dowel and find the center of the circle we drew. Since we are using an 8 inch tube we measure our cut line at 3 15/16 inch from the center. For a 10 inch tube see 8_inch-a.htm. |
|
If we mark the cut line right it will make things easier later. We weighted the spider so it won't move when we try to draw the line. |
|
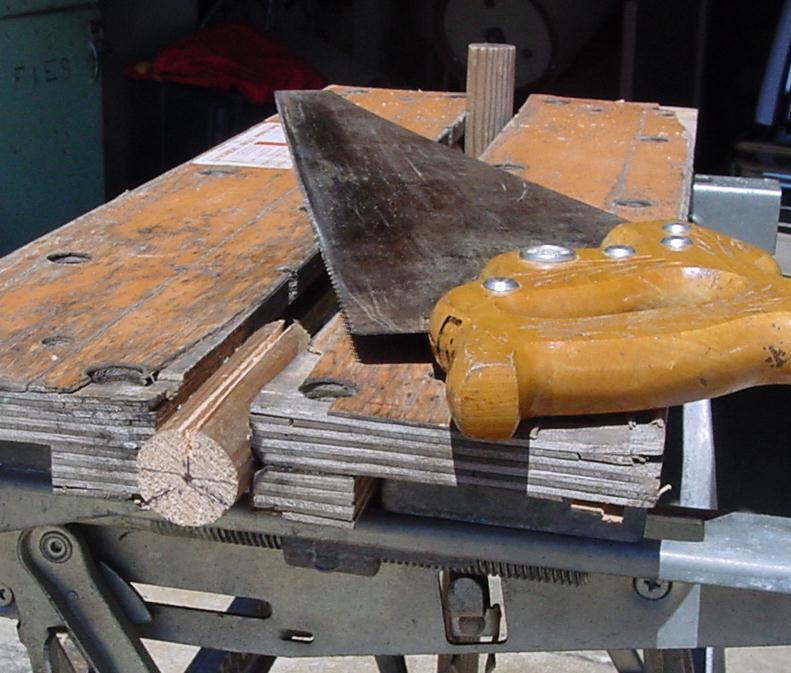
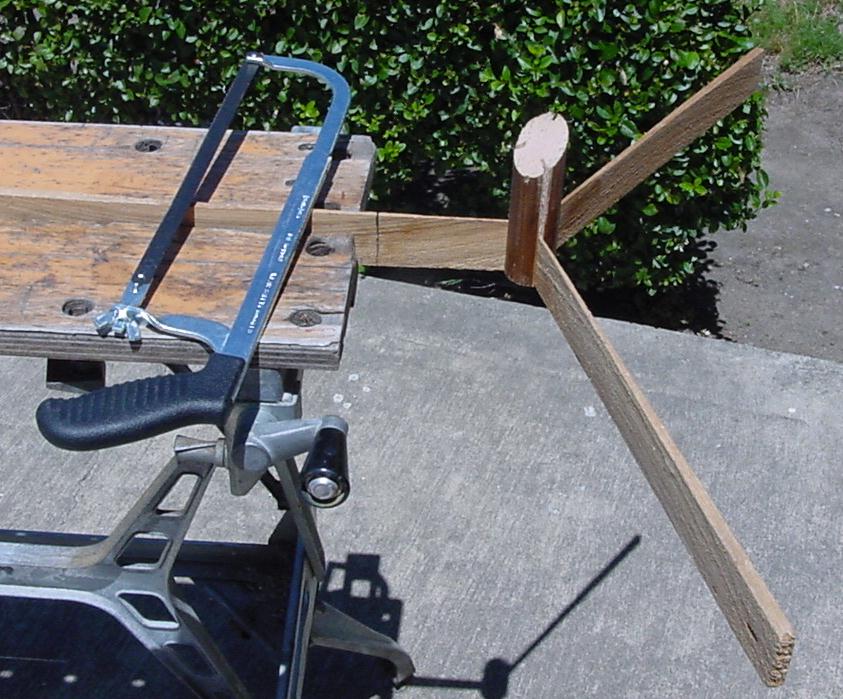
And here we use a hack saw on the shingles since we don't want them to split. Next we spray paint the part of the spider that faces the eyepiece tube flat (primer) black. |
|
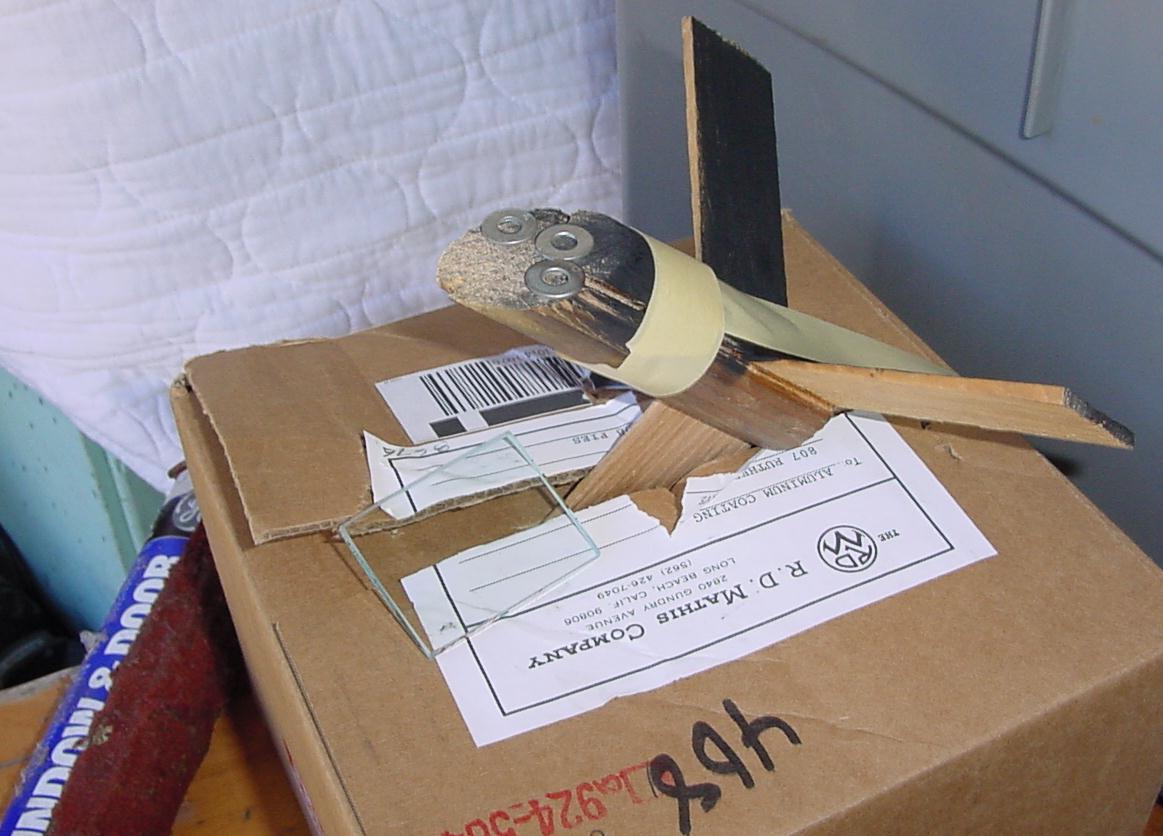
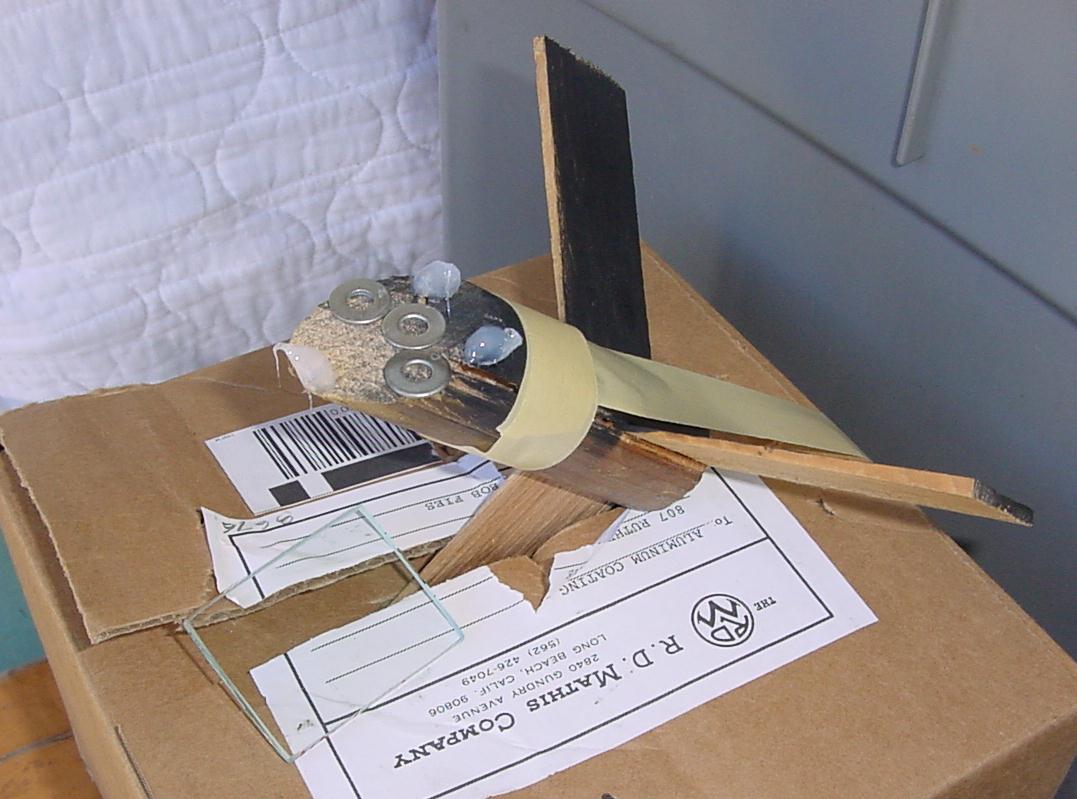
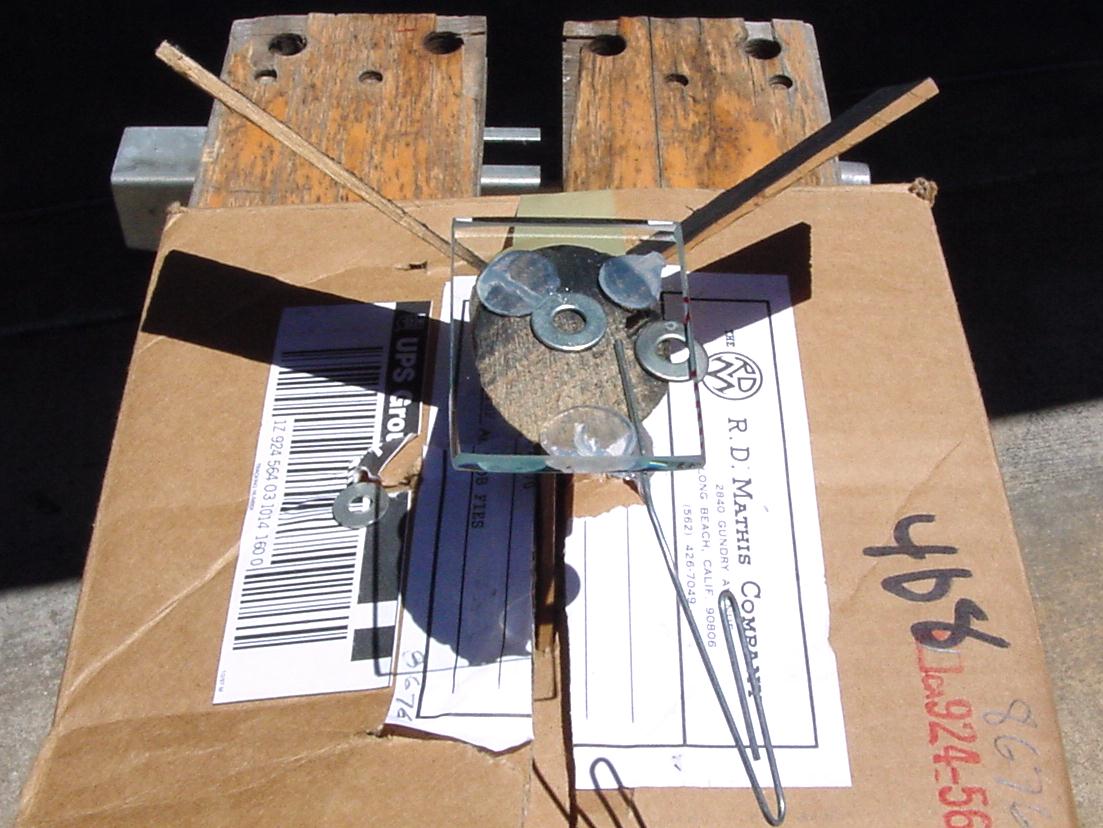
We found three washers to space the diagonal off the spider. To glue the diagonal you need to tape the spider into a box so that the 45 degree face is horizontal. Make sure that the spider is secured before gluing. To the right you see a recycle bucket that we will use to cover the whole assembly while the glue dries. |
|
Next the glue. |
|
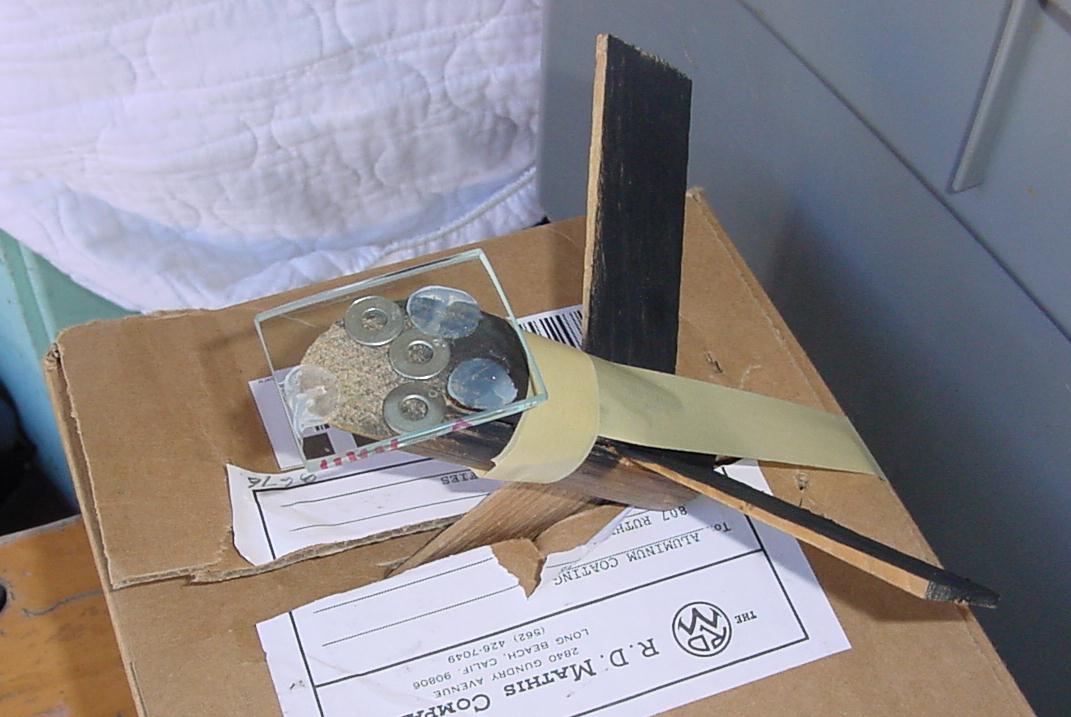
We used an uncoated glass instead of a diagonal so you can see. We check the angle from the top. |
|
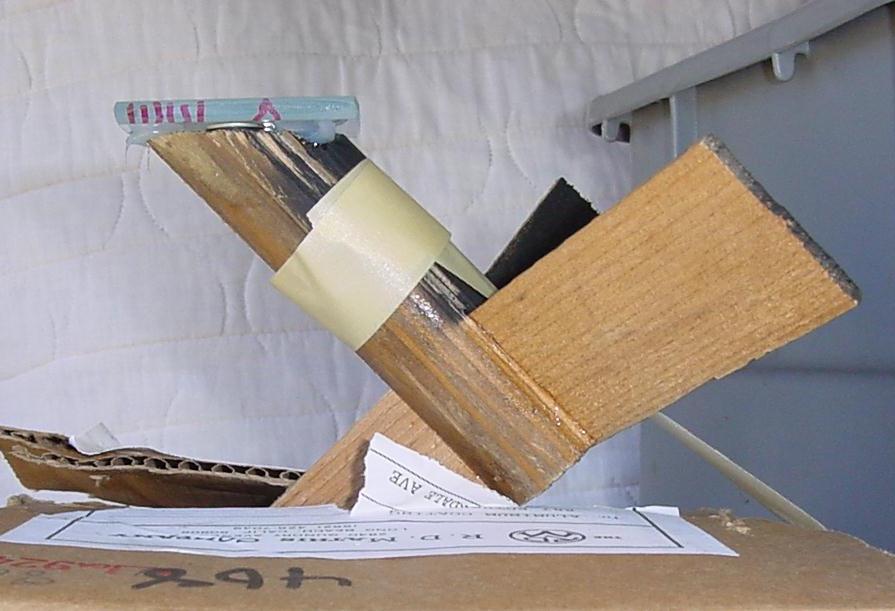
We check the positioning from side- |
|
and from front. Don't worry about the little threads of sealant. We will cut them off tomorrow. If you bought a diagonal that is "JUST BIG ENOUGH!" you may find gluing stressful. |
|
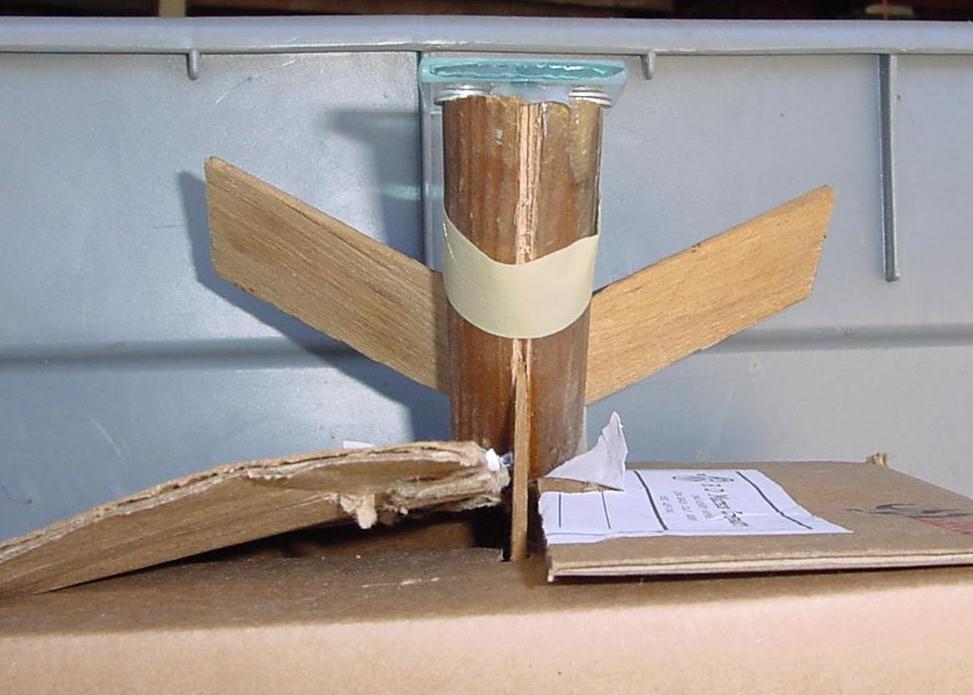
The next day we remove the washers with a paper clip. |
|
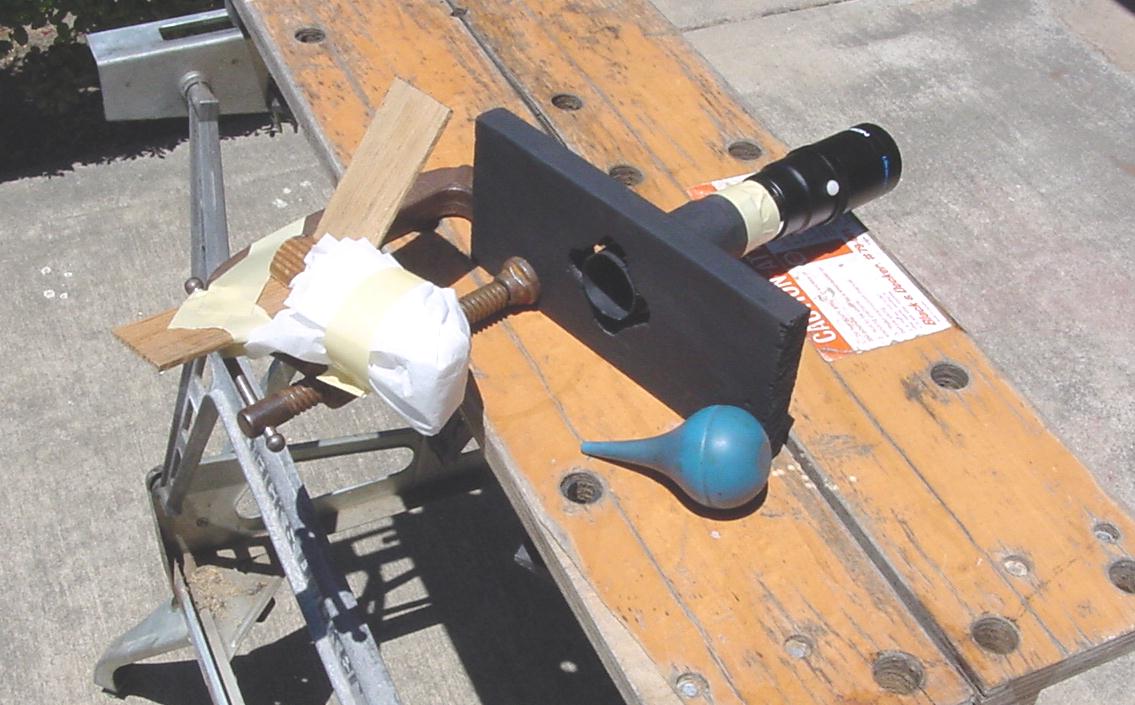
Always keep your first surface mirrors covered when not in use. They are hard to clean without damage. We have successfully cleaned some old diagonal coatings by pouring a bit of semiconductor grade methanol down the eyepiece tube and drying the diagonal with Kimwipes. Here we test our paper mashie eyepiece tube with the shorty Barlow plus the 30 mm eyepiece. It hangs together but sags a bit. |