 |
The mirror in this case is thin enough to be used in a space
telescope, being F4 and less than one inch thick at the edge.
For that reason it was decided to to use a 65 percent diameter, 13 inch
tile tool. The curve on this thin
mirror had been generated so that the first grinding could be done with 320 grit.
Glass generation is done with a specialized diamond grinder.
The tool disk was made from stucco patch. Rather than use epoxy
resin the mirror maker was able to obtain a paste adhesive with a longer
working time. It is possible that the adhesive besides having a
longer working time may also be safer than epoxy resin. |
I got the paste from Chemco systems, 2800 Bay Rd, Redwood
City, CA.
www.chemcosystems.com 650-261-3790.
It is the "CCS Bonder Paste LWL"
http://www.chemcosystems.com/pdfs/ccs_data/Bonder_Paste_LWL.pdf
Mike L. |
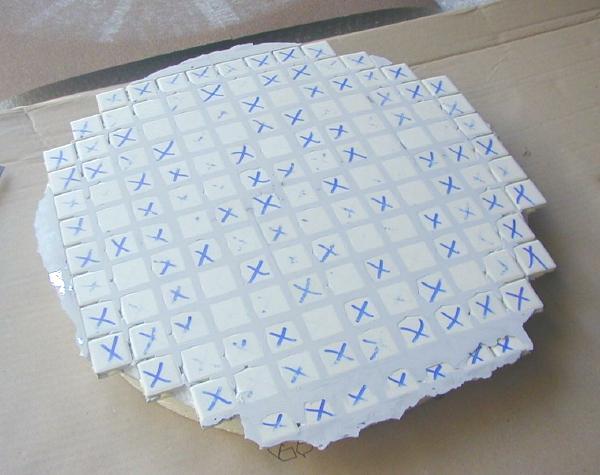
| After covering the mirror face with two layers of
aluminum foil, some of the tile spacers near the center of the tile sheet
were cut to allow the flat tile sheet to lay curved on the foil on the F4
mirror. Then the adhesive was applied to the convex face of the tool
and it was lowered onto the tiles and weighted . The adhesive has a
curing time similar to concrete so it must not be disturbed until the next
day. |
 |
Spraying the tool with polyurethane.
The pipe flange for the handle was attached with silicone
sealant. |
 |
The tiles were not all in good contact with the mirror
and it was not possible nor advantageous to grind the thin mirror thinner
just to shape the tile tool.
The mirror maker was able to attach 60 sandpaper to the face of the
generated mirror using double sided rug tape and grind down the high
tiles. |
 |
Here we have installed a small diamond blade in a Makita
bevel grinder to cut away the excess tile and adhesive at the tool edge.
The diamond blade must be wet constantly which requires two people and
great care to keep water out of the grinder which is not intended for wet
use. A 'ground fault' circuit interrupter would improve the safety
of this operation. A motor driven by compressed air would avoid the
electrical shock hazard.
The diamond saw blade can be purchased for about $40 from a lapidary
supply. June, 2005 |
 |
The mirror maker bevels the tile edge with sand paper. |
 |
A 13.5 inch stucco patch disk was molded to the mirror.
To avoid pouring the hot pitch directly onto the green glass mirror a
plaster of Paris disk was molded to the stucco patch disk.
In this picture the concave Plaster of Paris disk has been leveled.
Then masking tape added to form a mold edge.
The three spacers are just over 1/2 inch thick. They were made by
wrapping masking tape around three nuts. |
 |
In this picture we practice lowering the stucco patch
disk onto the spacers.
The masking tape was cut and adjusted until this could be done easily.
The Plaster of Paris disk need not be a quality mold since the pitch lap
will be pressed to the mirror later.
To avoid steam bubbles in the pitch we put down a layer of aluminum foil
on the Plaster of Paris. |
 |
After pouring the pitch on the Plaster of Paris disk the
stucco patch disk is lowered onto the spacers. The pitch was a bit
hotter than normal because we did not need to press
grooves and also because we were not worried about the hot pitch
damaging the Plaster of Paris.
Cleanup would have been easier had we taped plastic grocery bags to the
table. After the pitch has cooled about 10 minutes we separate the
plaster of Paris disk. We were able to remove the aluminum foil from
the pitch by pulling it with quick jerks. A polyethylene barrier
might have been easier. |
 |
We laid out the grooves on the pitch with a marking pen.
The stucco patch disk holds the heat for some time and after smearing the
pitch with liquid dish soap we sawed
the grooves with a carpenters saw.
We first marked the pitch with the saw then after washing off the pitch
crumbs we finished the grooves. Be sure to wash away all the
dish detergent when finished sawing grooves. |
 |
The 20 inch green glass mirror was heated in a plastic
pan with water about the temperature of bath water. On the stove we
heated water to almost boiling then poured it over the new lap before pressing.
Be sure there is plenty of cerium oxide mix on the mirror or the lap will
never move again. And move the lap around a bit to make sure the
surface is wetted with CeO.
It is not necessary to completely press out the lap at this stage because
we prefer to begin polishing as soon as possible. Next we re
pressed the lap with a plastic window screen to make a texture
then re sawed the grooves a bit. Then after washing off the pitch
crumbs we pressed lightly for 10 minutes before beginning polishing. |
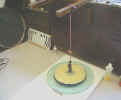 |
Mike L. has supplied me with data for this mirror showing the progress
of mirror figuring.
After the mirror was polished out and the figuring
nearly completed problems with maintaining the surface showed up in the
star tests.
It was necessary to use an 8 inch lap to control zones and spherical aberration.
Unfortunately after working with the 8 inch lap there remained a subtle
ripple that enlarged the star image. Returning to the large heavy
lap for smoothing deformed the thin mirror and brought back the zones.
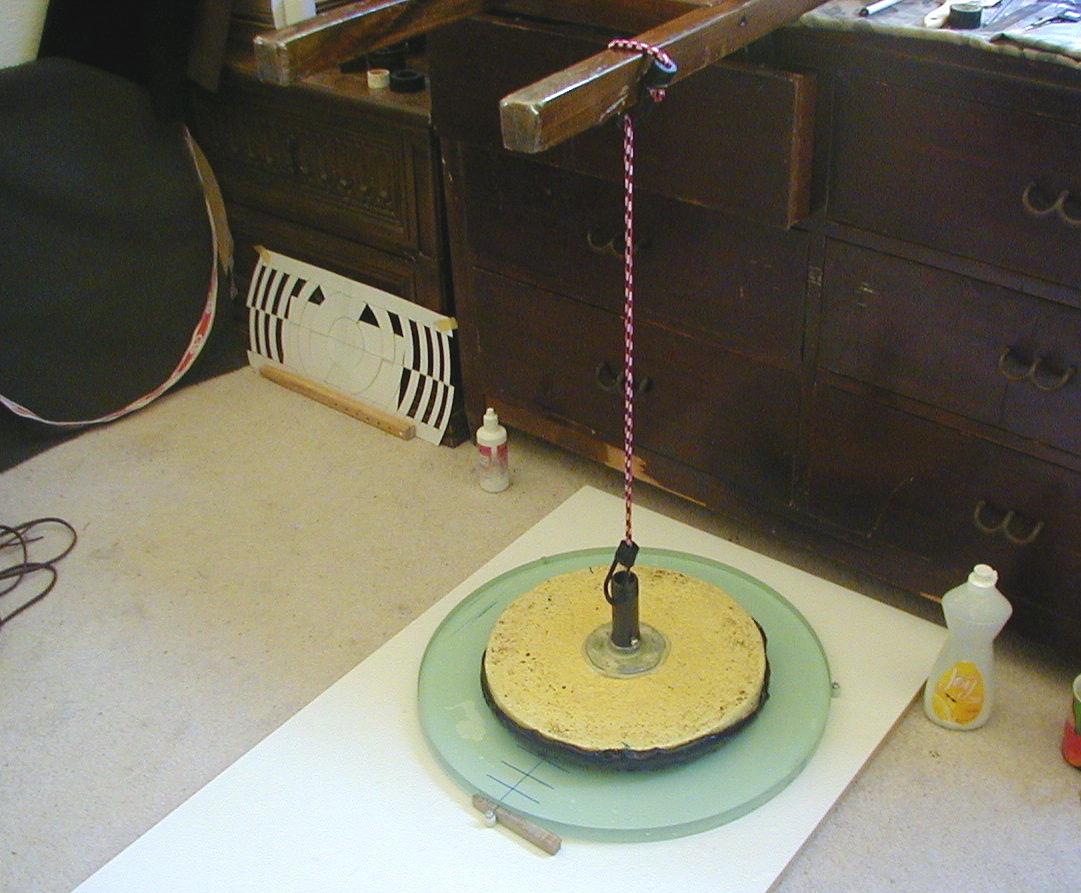
In this picture a bungee cord is used to cancel 90 percent of the weight
of the stucco pitch lap. Using this arrangement it was possible to
smooth the mirror without bringing back the zones.
|