


| |
|
|
|
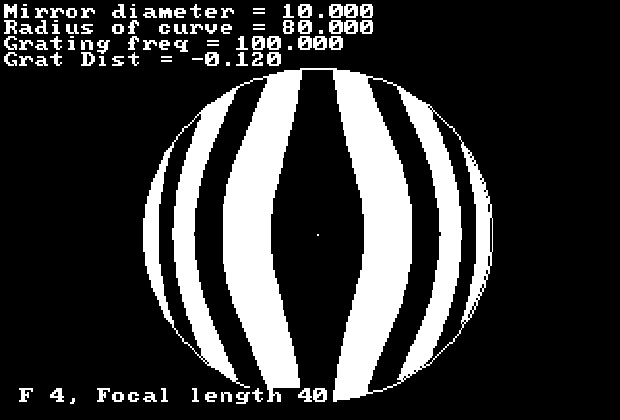
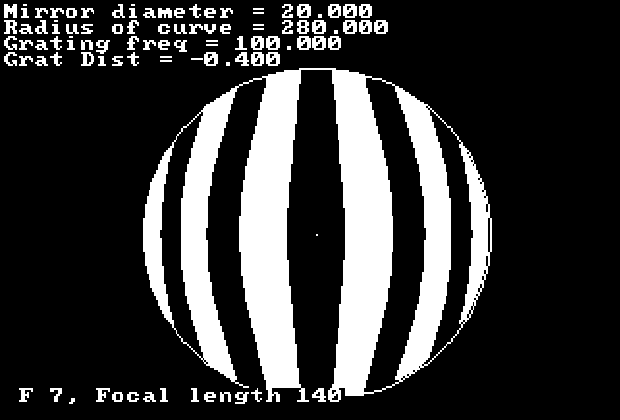
| F4 10 inch | F5 10 inch | F6 10 inch | F7 10 inch |
|
|
||
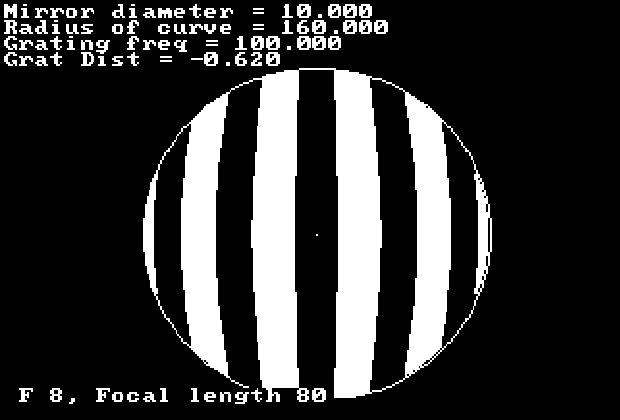
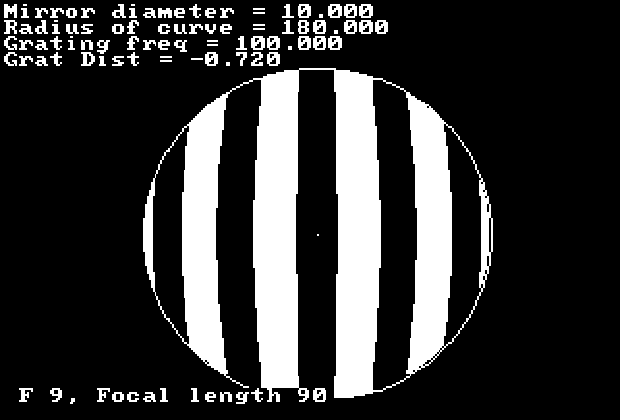
| F8 10 inch | F 9 10 inch |
 |
 |
 |
|
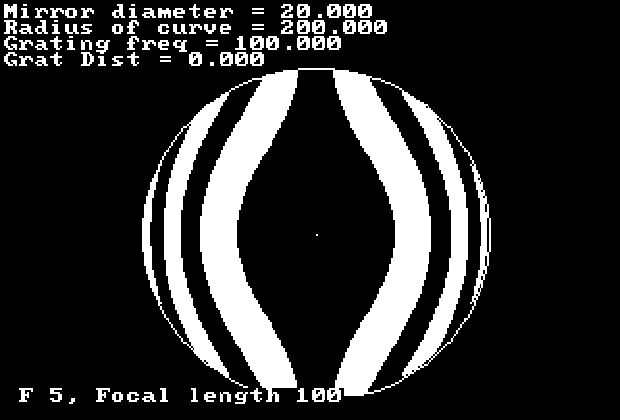
| F4 20 inch | F5 20 inch | F6 20 inch | F7 20 inch |
 |

|
||
| F8 20 inch | F9 20 inch |
Above are simulated Ronchi patterns. We tried to adjust the grating position to generate the recommended five black bars. My first thought is that if the F number is the same the 10 inch and the 20 inch should have the same pattern. The problem is that the grating is still 100 lines per inch. To get the five bars on the 20 inch the grating must be relatively closer to the focal point. The 10 inch F5 through F9 Ronchi patterns look like patterns I have seen at the Telescope Makers Workshop. On the 20 inch F4 and F5 we put the grating right at the radius of curvature of the mirror center and the patterns still don't look right. The 20 inch F7 through F9 patterns look OK but those are really big F numbers for a 20 inch. Possibly a 50 line per inch grating would be a better choice for the 20 inch. I think the curvy Ronchi pattern look really interesting. I am told however that sensitivity to mirror imperfection increases with the line width. This means if we try to interpret the really curvy pattern it will take a lot of skill and we were trying to keep it simple. Perhaps the knife edge is better for measuring spherical aberration and the Ronchi grating will pick up zonal errors such as turned edge that we might otherwise miss.
Note that the above tests were all done while testing at the center of curvature. The ronchi test actually measures how near the wave fronts are to spherical. To interpret the curves on the mirror you must know whether the mirror is tested on a star or tested with a light at the center of curvature.